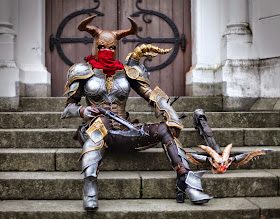
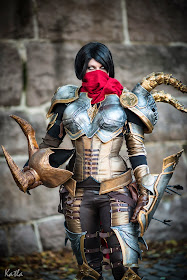
So all of the parts of this costumes is now done and ready for paint. See here for build tutorials; Chest plate, leg armor, pauldrons, helmet, Shield and bracer.
Worbla needs to be primed. To get a smooth surface you need about 10 layers of gesso or a thick layer of wood glue. Since I wanted a rougher surface for my "steel forged" armor I didn't have to prime so much. And this time I even used a spray filler (mostly for cars) in two layers. For some details I added glue and gesso to even out imperfections.
Then I spray painted all parts (this saved me a lot of time). I altered by spraying dark grey metallic and misting silver and gold over that as a baseas a base. Several metallic hues gies more depth to your paint job.
So many techniques.
Then it is time for details, weathering, battle damage, hightights and clear coating.
First up I painted all teh gold parts with a brush. And took my dremel and added battle scars.
Here you can see on the right the same thigh with weathering (black paint smudged on) and on the left with both weathering and highlights (with a silver marker).
The gold was also hightlighted with a gold marker.
Lastly I sealed all the details with a clear coat.
Really flat people on our beds (Next to mine is Karin Olava's Hunter from Destiny)
Hehe, I thought this was funny
Now that all the armor parts are done, maybe I should make a post about the textile parts of the costume and how it is attached to my body.


