mandag 26. august 2013

Human heart clutch purse - how to make

As I was invited to the premiere party of The Mortal instruments: City of Bones and I wanted to create my own demon design. This was after all a red carpet event with international movie stars and press, so I went for a more fashionable demon. And then I needed a fashion statement purse - in the shape of a human heart. 

Here you can read about how the horns were made. 

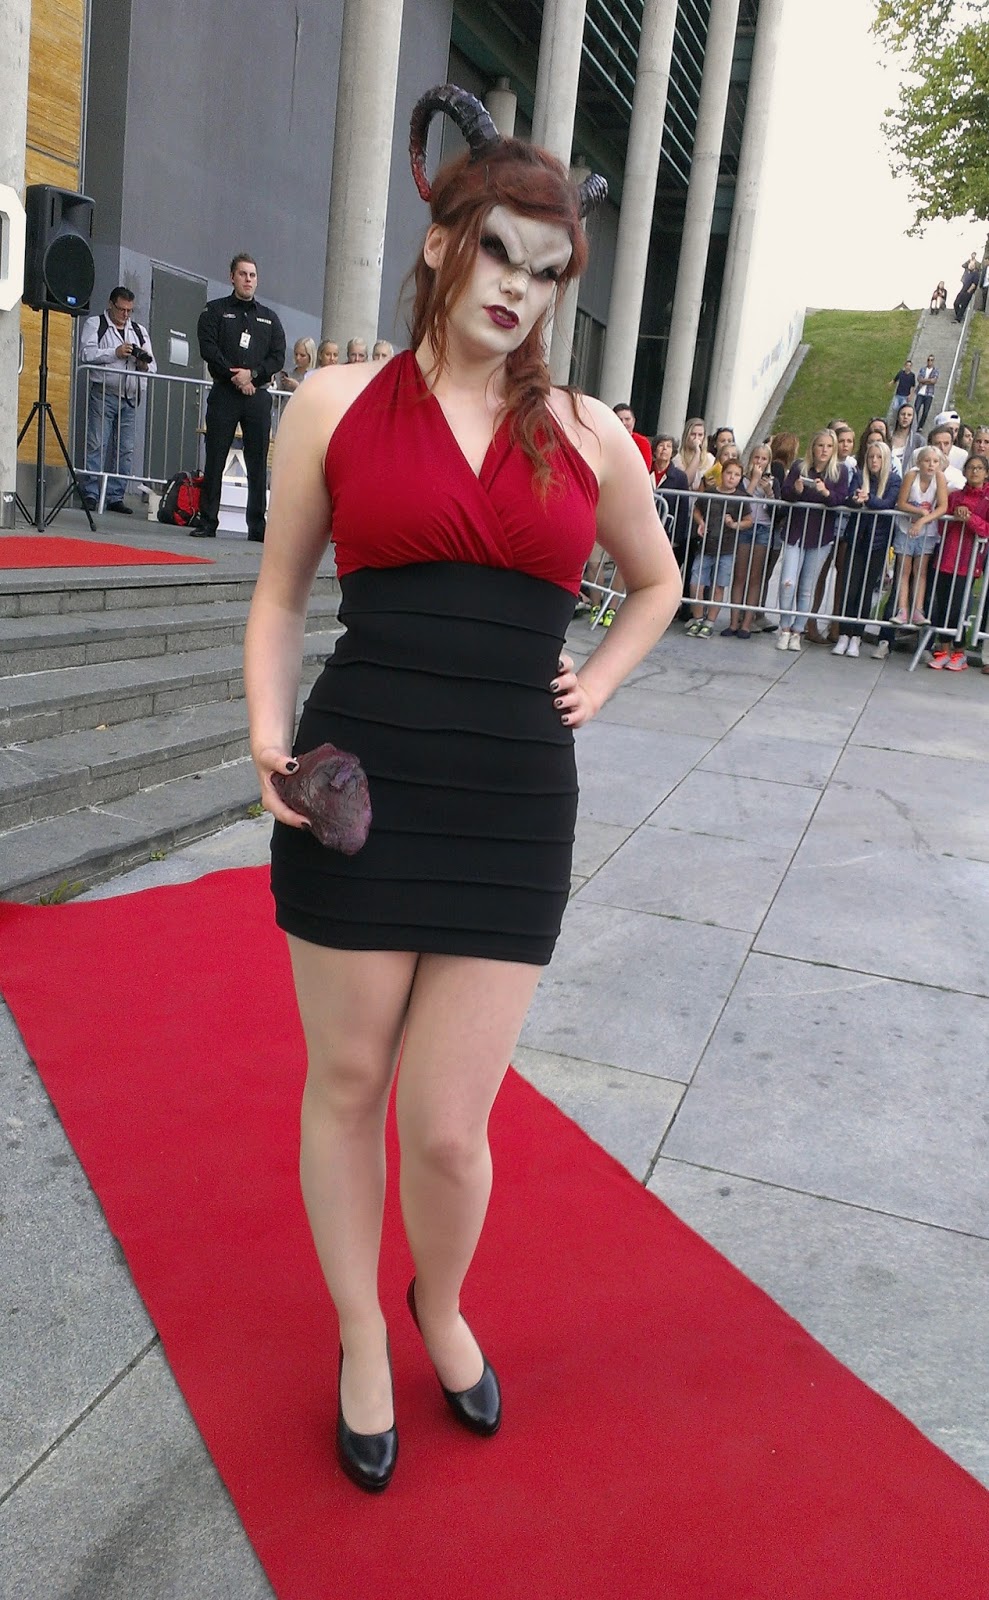
My awesome purse, want one? I will be selling these, custom made, but at the moment I am very busy. 

I needed to have room for my phone, keys, money and emergency makeup, and with that in mind I started sculpting. 

Step one was to block out the size using tin foil and tape.

Then adding clay and sculpting. In this case you don't want to use paper clay since you don't want the heart to dry up. Wet clay is easier to get out of the plaster mold when it hardens. Oil based clay can be used (or paper clay if you work fast).

Then I made a plaster cast. I am trying to make a two part mold, and made a dividing wall in my clay heart. 

Then I poured plaster over one side, and when it is dried turn it over and repeat. It is important to prep your clay with a releasing agent (in my case cooking grease) this will let the plaster release easier when cured.

Take away the dividing wall before adding plaster to the other side and add Vaseline to the edges.


Pull the two plaster pieces apart and clean out the clay.
(There is a reason people go to school to learn this, it is hard to make good molds. I have to practice more or take a course)

To make a smoother surface I painted the inside of the mold. First I tried my water based clear coat  that was a bad idea. It reacted with the latex. Next up I spray painted it, success. 

When my plaster cast was done I started to prep my latex. The reason I use latex is because this is what I have at the moment and it can take a little strain which is good since it will be opened and closed several times. To save time and maybe preserve some transparency from the latex I dyed it red using food color.


Filling the mold with latex. When it cures the color wont be so milky. 

The idea was to put the two halves together and slush cast, but my to plaster halves don't fit together. So then I made to halves of a heart (reinforced with toilet paper) and glued them together when dried using latex. 

My halves (color much darker)

Putting the two together and adding details. (doesn't look like much jet, but just wait). Reinforcing with paper from the inside and hiding the seem with latex from the outside. 

Slowly getting there


As I waited for the latex to cure I made the lining and what is better than red velvet for the inside of a heart <3 And adding a purse clasp. 

Testing that everything fits, and that I still have room for my phone. 

Fusing the lining, clasp and latex together

I'm so going to use this together with my next zombie costume and definitely for Halloween.


Photo by: Daniel Lange

As I mentioned in the beginning I will take commissions for purses like this of latex casts. So if you want green, blue, purple heart with yellow lining, no problem. I'll make what you want ;) Hell, I even used it as a regular purse last night I was out, best conversation starter. But I am also very busy, and I can't set a date for when I can finish them :/

fredag 23. august 2013

Demonic Horns - how to make

For more Halloween costume inspiration, take a look at my facebook page: Chrixdesignandprops

I was invited to the premiere of The Mortal Instruments: City of Bones since the director, Harald Zwart is Norwegian.

So me and my fellow cosplay friends got to stand on the red carpet together with Hollywood celebrities like Lily Collins, Jamie Campbell Bower and Jonathan Rhys Meyers. Even the Norwegian princess Märtha told me I looked "horrible".

And for my demon costume I needed horns, and I didn't want to use too much time on it due to other projects that needed my attention. 
Photo: db.no

So the tinfoil/papermache method it is!
Start off by shaping tinfoil info you desired shape. I also have a core of foam, but that is mainly because I was running out of tinfoil. 


And then cover them with masking tape.  


Now it is time to add strips of paper dipped in glue and water. I used "all purpose" glue like this.  

And covered it like this:

When they are all covered, add another layer of only glue on top. This smoothens out the surface. I have only one layer of newspaper on my horns.

Then you add some details. People have asked if they should use paper clay to make the horns. Sure, you will get much better detailing an possibilities, but they will also be very heavy. Try and find out what works best for you. 

I used my trusted glue gun to make the ridges (which are much more visible on the second picture below).

And then I primed it with Gesso to even out the surface even more. 

And now paint!
I decided on a total color palette of red and black for my demon, so I will feather out red color on the tips of the horns. For this I used a bright red and a black acrylic paint with a sponge (ordinary makeup sponge) and dabbed color on from the tip and in. 


Last I painted over a clear coat to get that glossy finish. Trim the edges. 

If I had more time I would have made horns that you glue to directly to your forehead, that looks to amazing (but I have other plans for my forehead, wait and see). So I will use the headband way. Attach the horns with tape to my headband and arrange my hair so it doesn't show. 

With tape

Hiding the tape


And styling my hair, which was not easy since I have a side cut and needed to hide the head band.

And finished
The angry brow was made with gelatin and I got to use the mold made by the very talented Karin Olava Effects

lørdag 17. august 2013

BioShock Infinite Salt - how to make

For my quick Elizabeth cosplay earlier I made a Salt bottle, using trash as usual. See this post for how to make a easy bird or cage broch

Note my bottle is not 100% screen accurate, but it's good enough for a quick prop. Other ways to make a salt bottle is with paper craft, making one out of paper. 

Or you can do it my way. 
It is not 100% correct, but very cheap and easy to do. 

Step one was to print two sets of this Salt bottle picture in color. Cut out a circle around the ornaments from the stopper/cork and the label. 


And then gather a soap bottle in the right shape (ish).

Clean it and remove the label. Then you paint the inside of the wall with glue and blue glitter. I used both glitter glue and loose glitter (bought at Panduro in Norway).

And then glue on the label from the printed salt bottle (I used double sided tape).


The cork
I used the cork from the soap bottle as a base to I could close the bottle entirely (so no glitter will fall out) but still be able to open it so I can insert blue LED lights.

So to the soap bottle cork I clued on to pieces of card board in the oval shape shown under. In between I added a piece of foam in the same size. 


To make the edges smooth I added paper clay and sanded it down. Then it was painted blue and the ornament labels I cut out earlier was glued on. 

At the base I painted the cork brown. As you can see the method is not the most sturdy. Since I threw this bottle at Booker many times at a convention and it fell on the ground several times. But for just standing on a shelf it works fine. 


And now to use it - Booker, need Salt?
The Booker in the video is cosplayed by Hadley Cosplay

And in the end of the day I can put it together with some of my other props in my living room.
skyrim helmet portal gun Tali pylon salts