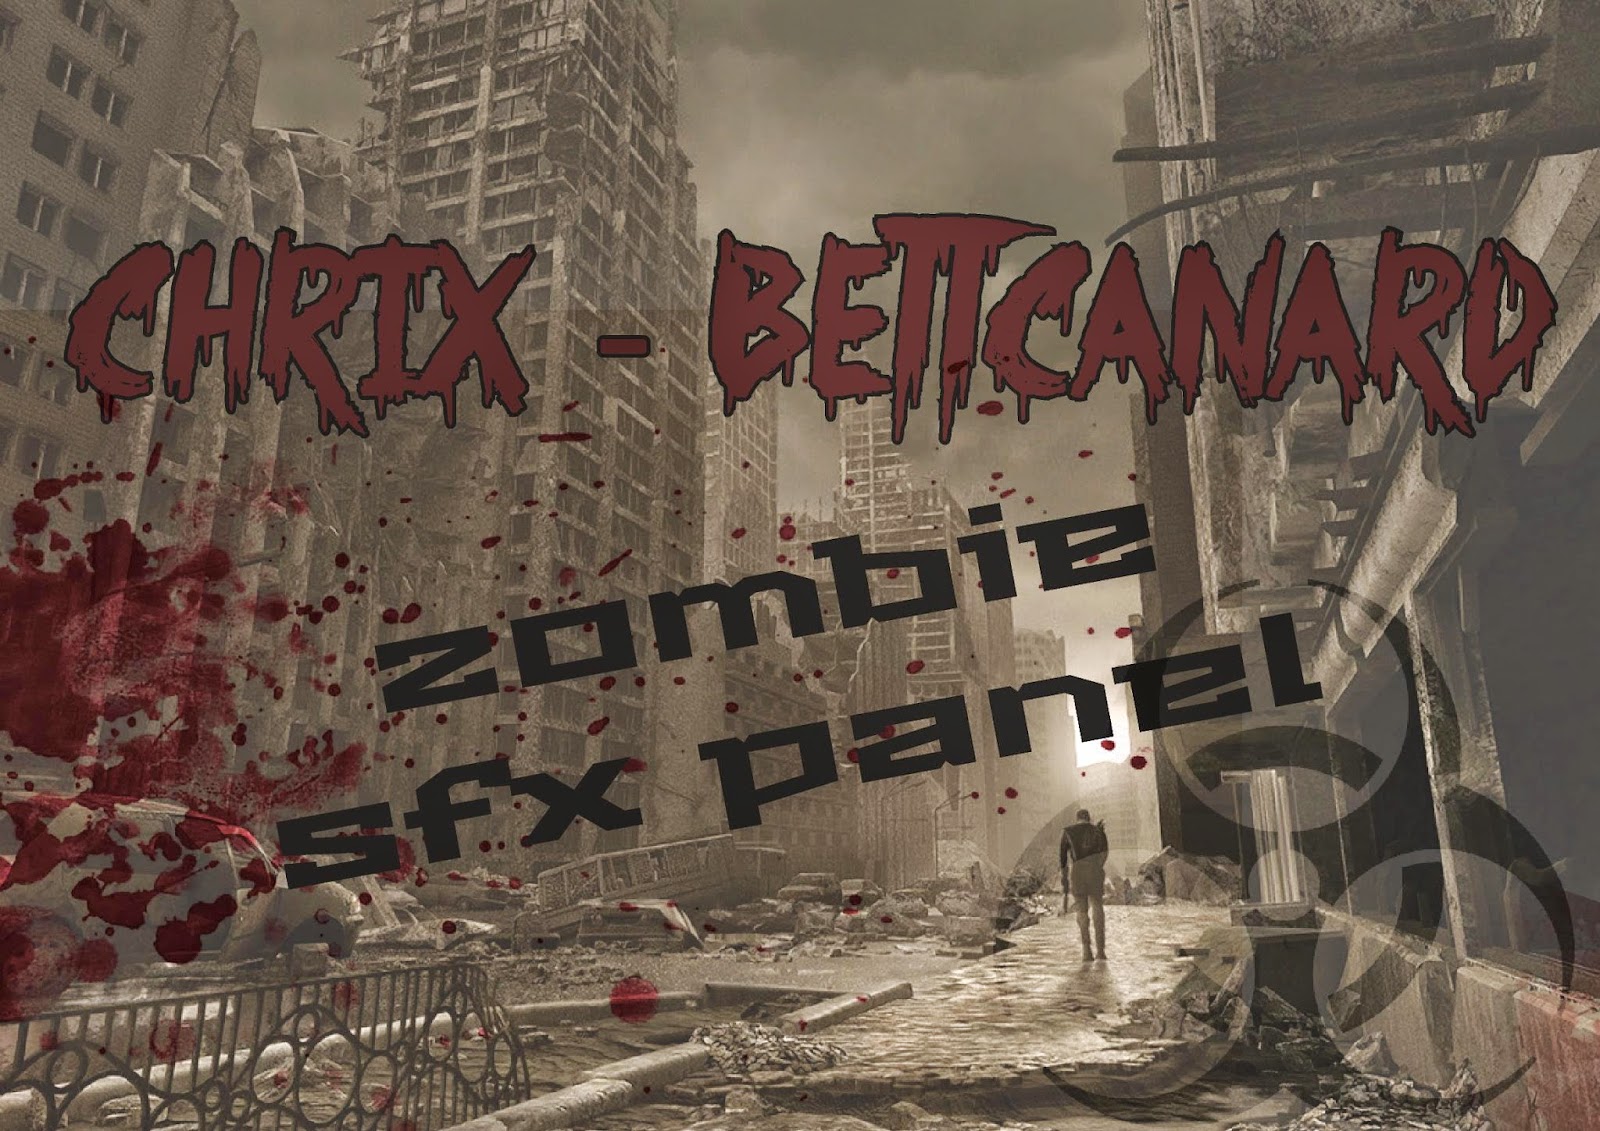
I have held zombie makeup panels several times now and it is always so much fun. Last time was together with Bettcanard Design.
In this post I will add some of the links and tips I talked about during my panel for those who are interested in trying this at home. You can also read about other SFX makeup effects, like gelatin here.
In this post I will add some of the links and tips I talked about during my panel for those who are interested in trying this at home. You can also read about other SFX makeup effects, like gelatin here.
When I want
to make a zombie makeup I start with designing the look and looking for
inspirations. And I like to focus on two or three large effects as to not loose
myself in details. But still you need to address everything from ruffled hair
to dirty fingernails. So perhaps a little gut falling out and a broken jaw is enough "large effects" and then you make some small wounds and add blood an d dirt all over.

Photo: cghub.com
So when you
know what to make you need to know how to make it. The internet is full of
tutorials, and I have even written some of them.
How to make an exposed teeth mask
 To add dimention and realism to your makeup, never use only one red color for the flesh, I say always use three or more to get the best effect.


Photo: danarki
And my wonderful sister have made a few others: BettchanardDesign.blogspot.com


Here are a few other online tutorials and tips.
Here are a few other online tutorials and tips.
During my panel I showed you a youtube
video, here is a link.
Video by: NomNomWonThanh
I also showed a clip from the Syfy channel series "FaceOff" where the contestants get the task of creating a horde of zombies (season four, episode seven). I have learned a lot from this series and would recommend it to anyone who wants to learn more about SFX makeup in general.
Equipment –
what do you need, and what I showed off during my panel. Most of these you can get at Joke shops, Panduro, well stocked makeup store or on internet (like MouldLife.co.uk)
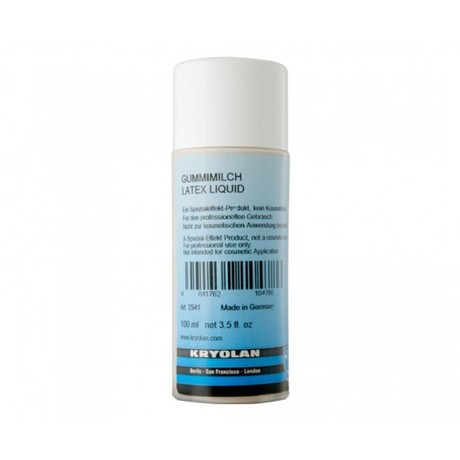
- Liquid latex (make sure it’s the kind you can put on your skin, read the description on the bottle)
- Tissue paper (try to use the ones without prints)
- Glue, again that is meant for putting on your skin (Mastix, Spirit Gum, Pros Aid)
- Foundation color, crème color is the best here, either pale skin color, white, greenish (I have one called corpse from Kryolan)
- Sponges, q-tips and brushes. And whatever you dip in latex will get ruined.
- Acrylic color (NB: not use close to eyes or mouth) Use at least 3 colors, red, deep red, dark brown. You can also use lipstick and other makeup to color you wounds.
- Fake blood (either make it, see link above, or buy it)
- Stipple sponge (great for making bruises and smudge blood)

Stipple sponge
Here are some wounds I made after the panel at Metrocon, model Tom Vida Johannessen. It only took about 10 minutes to make.

Photo: Kake Yamamura/Kake Cosplay
In addition here is my human heart clutch purse, which is also made out of liquid latex and tissue paper.

Other zombie effects can be made by using a bald cap with some random chuncks of hair glued to it, or add guts. Here I have filles condoms with cotton and fake blood.
 For more tutorials on other types of spesial effects makeup, see my SFX makeup writeup.


