First I needed to decypher what kind of jacket (fit) Red is wearing. Since she takes it from her lover it is obviously a mans jacket with a long back. We can also see that is a three button, single breasted, single back vent. Also three buttons on sleeve with plackets. We do not see if there are any pockets, but most modern jacket styles do have front pockets, and so will I, they are kinda practical. Lastly I studied the shape of the lapel which I concluded is a Notch Lapel.

I bought and modified a Burda pattern. To get to know the pattern I first sewed a mockup out of canvas. This would also help me see if my modifications to the pattern worked.


Please ignore the wrinkly state these are in. *runs off screaming
Materials and color
I have seen other Red cosplayer make a brown leather jacket, but after color analysis (using temperature tool in Photoshop) of several reference photos I stand by that it is black or dark grey. I have landed on black, as most of the grey tones are added to create contrast and highlight in the artwork. Also the jacket belongs to Reds' lover and he wears in inside which omits leather. Since he was on a date with Red the night he died I also chose to believe it would a more formal jacket.
Puh, from all of this it is safe to say a high end wool fabric is suitable, which is supported on how the jacket is draped in some of the photos.

- Outer layer: Italian wool.
- Interfacing: Iron on interface, one with the same weight as the wool and one somewhat stiffer.
- Lining: polyester satin
I have my pattern, I have tested it on cheap canvas, but one more search on Youtube ended with me finding this amazing sewing sewing tutorial, showing how to sew the sleeves and attach lining. I learned so much from just watching this. I am now ready to start sewing with my gorgeous wool material.
Sleeves
I started by sewing the vent area on the sleeves.

The hemline is interfaced

Slashing the end of the vent to be able to press seams open

Pressing hem showing right side (so straight <3 )

This is a two piece sleeve, sewing the two pieces together


Pressing the placket and hem

Take a look at my crisp placket.


Sleeve is all sewn together, still needs buttons and a good press.


The body of the jacket.
All my pattern laid out, like an IKEA jacket, just assemble it ;)

Back
Sewing the two back pieces together and basting the vent area.


Sewing in front dart and basting the pocket slash together using herringbone stitch. (Before starting with this project I had no idea what this sentence even tried to explain, so much learned).


Herringbone stitch
Side panel sewn on and ready for attaching pockets.

Pockets
Even though you can't see the pockets on the reference photo I wanted to add them as they included on most jacket designs (both Art Deco as the game is inspired from and modern) and very practical for cosplay. I desided to go for flap pockets with piping, which is very common for suit jackets.
And to make it a little more interesting i decided to make the unseen piping in the same yellow satin as the dress, to bring the two parts of the costume together.
Prepping the piping by ironing on intercaring on the back and the iron folded.


The pocket flaps sewn ready with interfacing and lining. There are also top stiched (I sewed on top to make the flatter).

The pocket piping is being sewn on

Sewing the pocket lining

Slashing the pocket and tunring it inside out.

The piping will be sewn to the small triangle of the front facing (see video further down for more information)

The flap! (need to remove some lint here)

And my yellow piping (makes me happy to look at).

Again I found a really good tutorial online on how to sew slashed bound pockets
Collar
That is enough of pockets, let's start on the collar and lapel (my new favorite word, Lapel). First I sewed the shoulder seams.

Collar stand attached to upper and under collar pieces, then topstiched.


Under collar attached to necline


And upper collar attached to the lapel piece.


Collar and lapel sewn onto the jacket body. Collar is then under stiched.


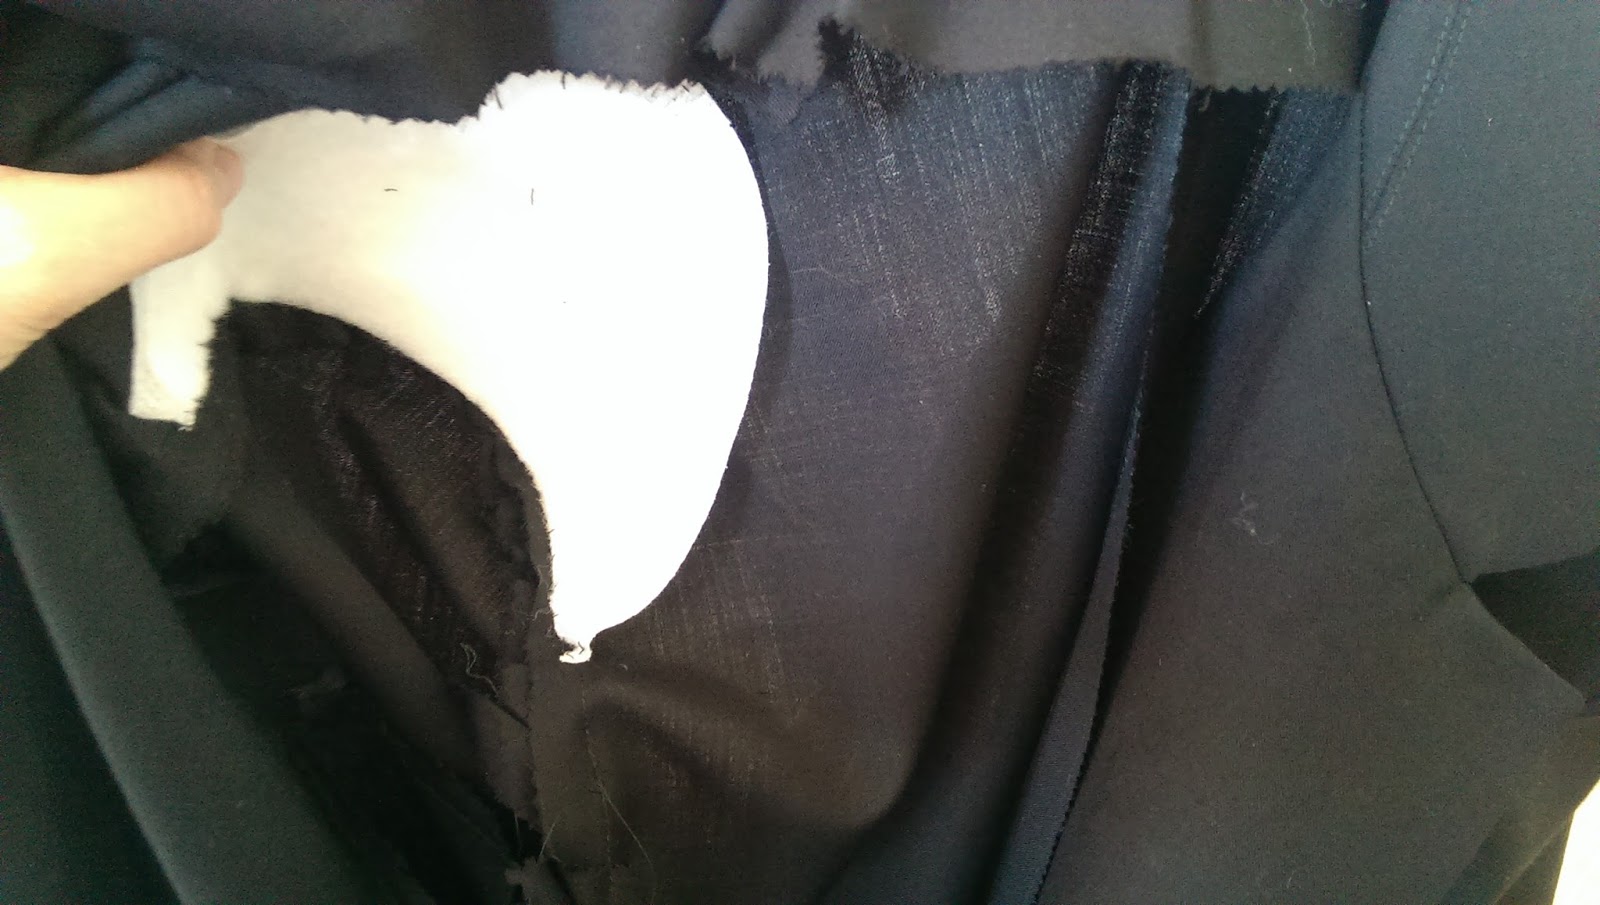
Attaching the sleeves


Shoulder pads help shape the jacket, which are sewn into the seam allowance.
"Where did the General keep his armies...Up his sleevies"
Jacket shell is done


On the inside
Then we do it all again with the lining

Now lining is done, but before I can fuse them together I have to prep the electronics. Yes, how can I not include electronics into this.
Electronics and buttons.
I can not have ordinary buttons. In some of the concept art the yellow parts of the design (like the buttons) are highlighted. I am interpreting this as they are glowing, So I will cast my buttons in resin and embed LEDs into them.
The buttons were first sculpted out of clay and then cast in silicone.


Then I cast transparent resin with yellow resin dye in the mold, at the same time embedding yellow LED and the backside of the button. As the backside I'm gonna use for the buttons is made of metal I had to make sure to put on heat shrink tubes on the leds to prevent short cutting. (also LED were a little to large and have been sawed down and sanded to diffuse light)


To make sure the led doesn't sink in the liquid resin I use my soldering tool to hold it up.

The first cast, need to be sanded to diffuse light even more.

Light test

Buttons all in a row. Also it is way too hard to measure resin less than 30 ml, so I ended up with several keys and gems with the leftover resin.
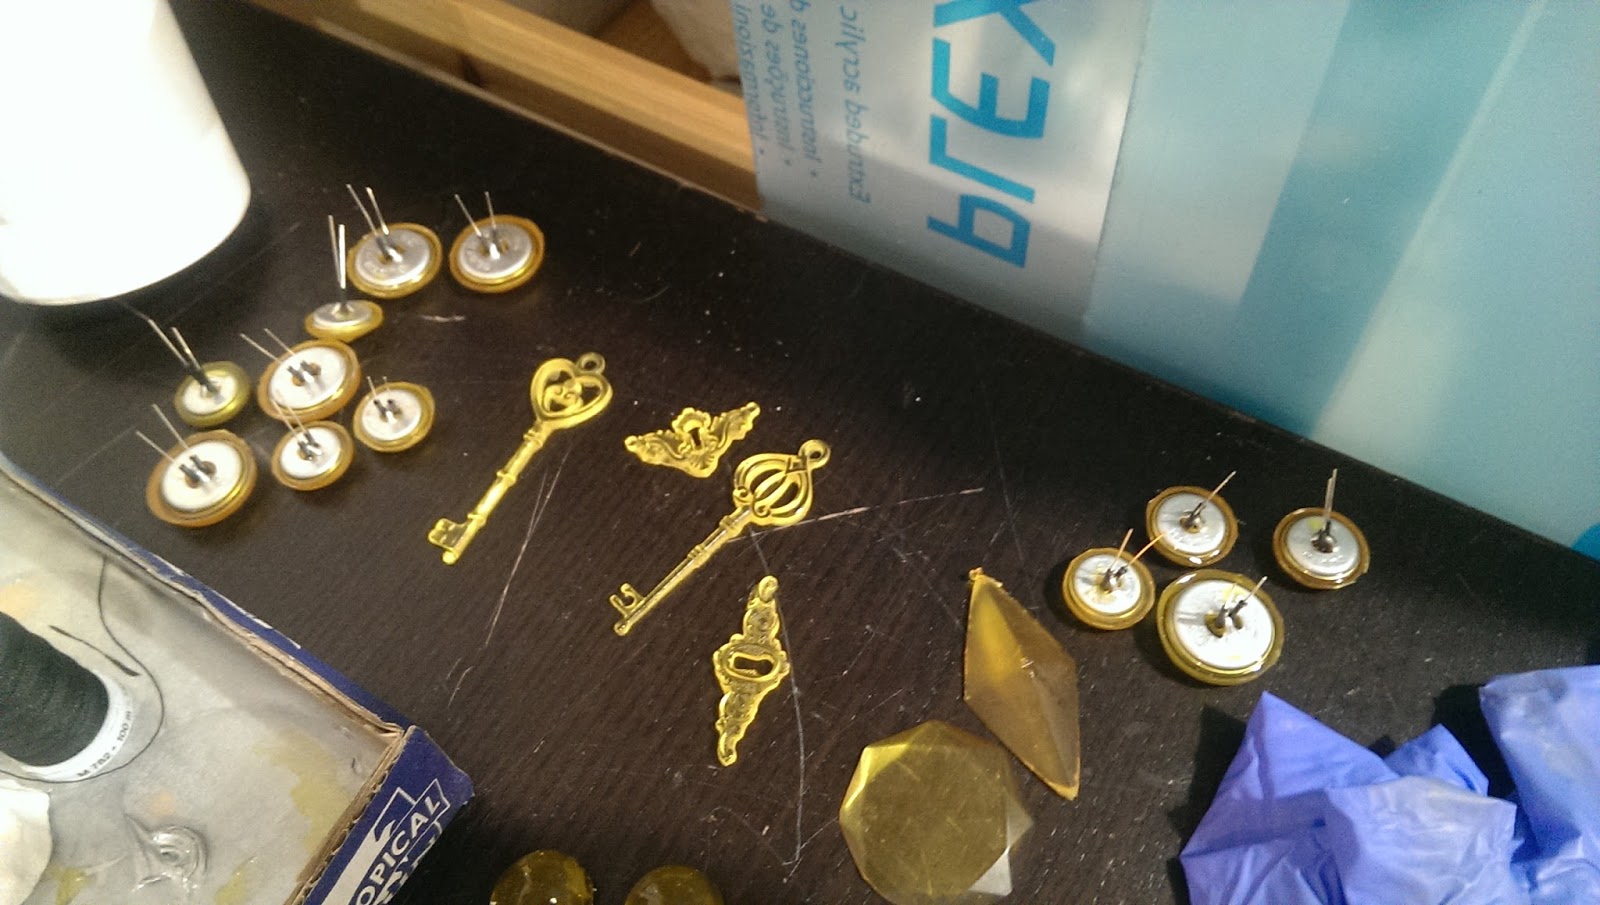
Add a little paint to my buttons to bring out the details and my duttons ready.
Now lets sew them in. I got hold of some conductive thread and sew in battery holders, time to embroider my circuit. I used conductive thread from Adafruit.


First I sew in the buttons on one side of the fabric, I also stick the anode and cathode of the LED though the fabric

One the wrong side of the fabric I "curl" the anode/cathode so they will lay flat and be easier to sew in place.

Then I embroider a link between all the positives and into the battery holder, and later a link between the negative poles to the battery.


Put in the battery and we got light.

On the back of the jacket there's a huge triangle. This was sewn the same way as the triangle on the corset, to bring together materials and dimensions. The yellow fabric is the same as used on the dress, the lighter gold has a discrete floral pattern that suits the Art neuvau style of the game.


Attaching the Lining
This was a IQ test, with the back vent and the sleeves! The video at the beginning of the post show how to attach the lining for a jacket without a vent, so check that out :)


Photo by Artflower Fotografie

Photo by Artflower Fotografie


