I have long wanted to make a pip boy 3000 and suddenly I had an extra smartphone at hand that could be used for this purpose. Also, very fast test makeup of my costume ;)

This is a fast build and some details could have been crafted a little cleaner, but I still love it.
Cardcoard is the way to go
As always I start off with a piece of cardboard as a base.

Where I gradually add strips of foam to create the basic shape, 2mm and 4 mm foam.

Roll it together

To make it more sturdy I covered it with worbla. You can skip this, but it also makes it easier to attach more details later. (If you don't want to use worbla then cover the entire thing in wood glue to get a less porous surface.

Next up I made a case for the phone.


To get some of the transition shapes I used clay which was later covered with worbla.


With a marker I add the layout of additional details.


A few more details added with worbla and red LED.


As you might see, some of the details are not quite straight, so I used a sharp knife and trimmed the edges.

Also added several screws to bring out a more manufactured look.


Woodglue and gesso is used to even out the surface and prime it for paint.


Silver spray paint


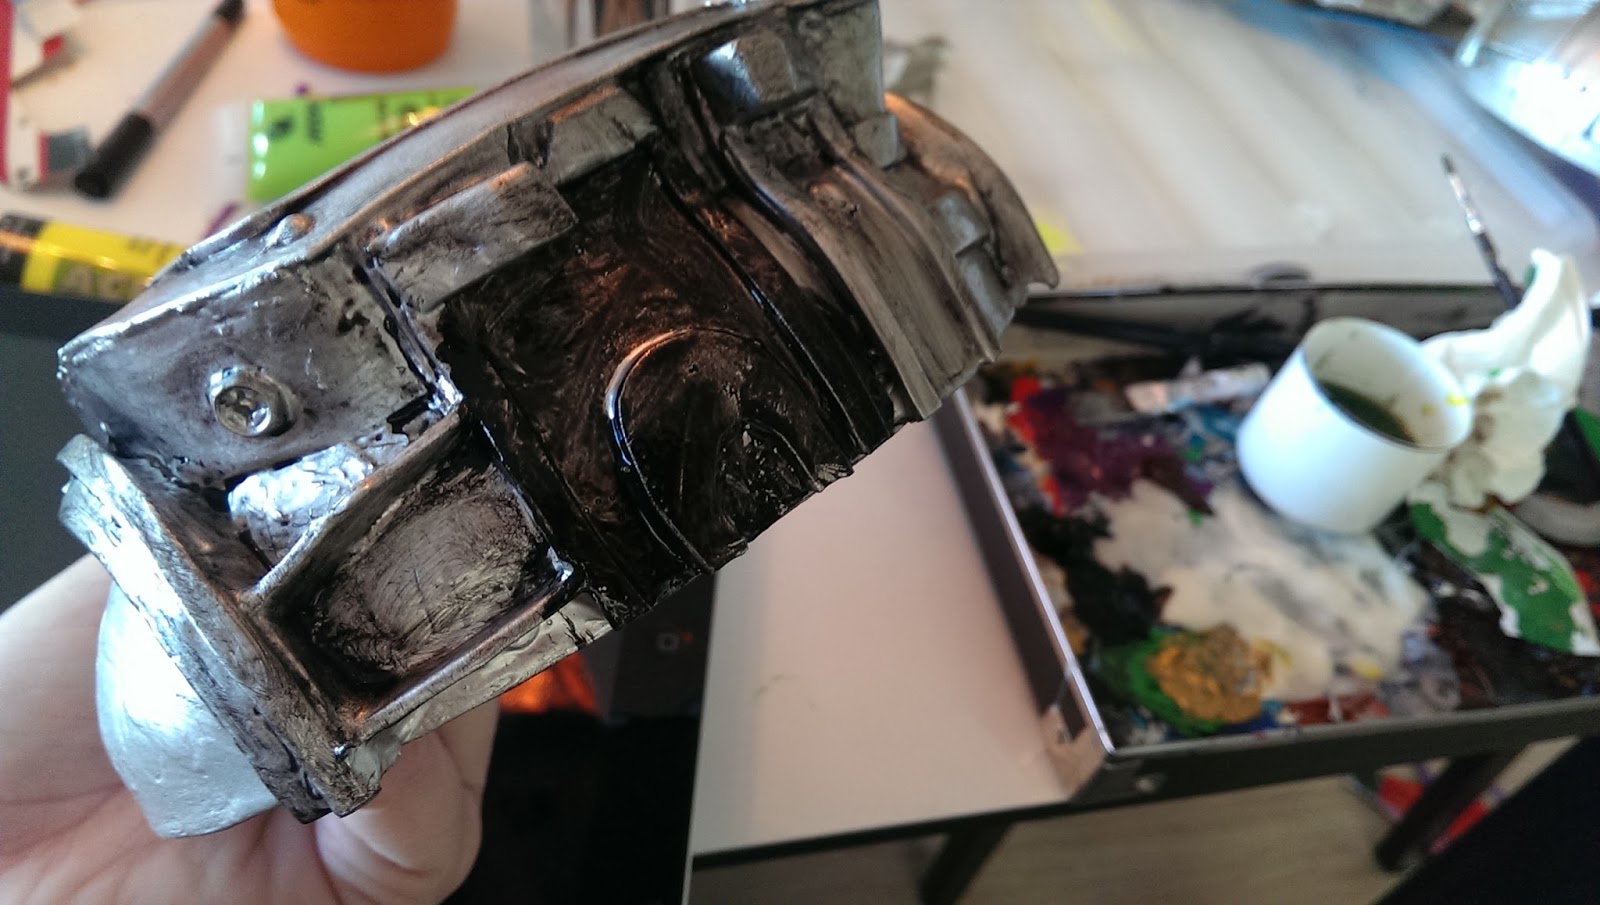
Basic weathering
I used watered out acryllic paint to smear the prop in with. Wipe off the most and the paint will lay naturally in all the cracks. I did not have a photo of this, but here is a photo of me weathering the Easter egg shaped like a pipboy
You have a "clean surface"

You smear it with acrylic pain and wipe it off
No weathering vs all weathering.

In action
In the end it looked like this, better photos will come ;)


