søndag 30. desember 2018

Max from Life is Strange

Here in Oslo I have free access to a vinyl cutter through the public library, you can even buy vinyl directly from them very cheap. So what can you use it for? The Heat transfer vinyl is adheres to fabric via heat, so perfect to make t-shirts, totes and just detail you fabric. 

Personally I have mostly used it to make several t-shirts for cosplay, like Max from Life is Strange and Brigitte and Sombra from Overwatch. Now I'm working on Symmetra's Peacock skin, which needs some golden details on the front, a perfect excuse to test out more vinyl. 

So how does it work?
You need a design, I prefer to make them in Illustrator or InDesign. Then you flip the design (or else it will be mirrored when it is applied). Load a piece of vinyl into the cutter (make sure the correct size is facing upward) and simply choose print in InDesign. 

The design is cut with a small blade. Then you peel away everything you don't want to apply to your fabric, place the design and add heat (a normal iron will suffice). 


And can we just appreciate the amazing photos by Rojano Photo


Other heat transfer vinyl projects:


torsdag 18. oktober 2018

Fortune teller costume, great Halloween inspiration

Some people are an endless source of inspiration and my sister, Bettcanard Design is definitely on the top of my when it comes to creativity. A few weeks back she created this amazing Fortune Teller look, complete with a third eye and a jar of extra eyes. She even won first place in the style contest at Banzaicon with this incredible look. 

And since Halloween is soon upon us, I thought this might serve as a excellent source of inspiration for you guys when planning your costumes this year. Head over to her webpage, bettcanard.com for more incredible sfx makeup. And yes, shes does take commissions and she sells makeup prosthetic. 

This lovely photo is taken by Rojano Photo


onsdag 27. juni 2018

Cospaly on a Bugdet December - Star Wars

Ok, I have been very slow with finishing up this one. The theme for December was Star wars and I really wanted to make Padme's Battle Arena outfit from Star Wars: Episode II - Attack of the Clones. Budget is still 100 NOK and No way I could make any other of Padme's outfits of that budget. 

The hair
I cut up an old brown wig and twinned the hair around foam rollers and glued this to an elastic band. At the moment I can use my real hair for the rest of the hairstyle.


The arm band
These were made from leftover worbla, some silver paint and a elastic band slued on. 

The belt and The pouches
Luckily I had a commission that left me with some left over brown faux leather. It has a suede quality rather than a smooth surface, but when your budget is tight you can't be too picky. Belt is a strip of brown suede over a thicker piece of fabric with Velcro on the end. 

Same brown fabric sewn together to pouches and a gun holster. These were just hot glued to the belt. (Don't know why I didn't just sew them on)


In the end all brown suede got a bit of detailing with my airbrush and some acrylic paint. 

The Gun
This is not screen accurate at all, not even trying. But a gun looks more interesting on photo, so I repainted an old toy gun which has serves as a steampunk weapon for some time. I'll take it :)

The shoes and booth covers. 
I had a pair of old (broken) white boots. These are not comfortable, I need to ass new soles or something so I don'r end up hurting my feet. These were painted brown, first a abysmal attempt with acrylic paint and glue, then corrected with my airbrush... ok, don't look to closely at them. 

The covers are made from a foam base and then covered with the same brown suede. These are attached to the shoes with more velcro. And detailed with my airbrush. 

The cape
If I had a larger budget I would have bought a nicer fabric, But I needed this upholstery fabric for another project and bought a little extra for this cape because I got a discount. It does work though, so I'm still happy. 

The sweater and pants
Are pieces of clothing from my closet. Since I use them normally I did not want to add more seams or details, so I don't care if this cosplay is not entirely screen accurate. 


So This is what I ended up with from the last budget challenge from 2017. Photos below are taken by cosplay.studio


onsdag 25. april 2018

lørdag 31. mars 2018

Happy Easter 2018 - Overwatch themed Easter Eggs

It is time for the Easter Eggs again and this year the theme I'm going for is Overwatch. And I'm going to make three egg designs: Overwatch logo, the onion plushy and Symmetra's turret. 

And as always I start off with a plain cheap egg, and my only "rule" is that I still can be able to open it (and fill it with candy) after the transformation.  


The OW logo
Ok, this was pretty basic. Foam details glued onto the the egg. Then added paint and some dry brushing. 


Symmetra Turret
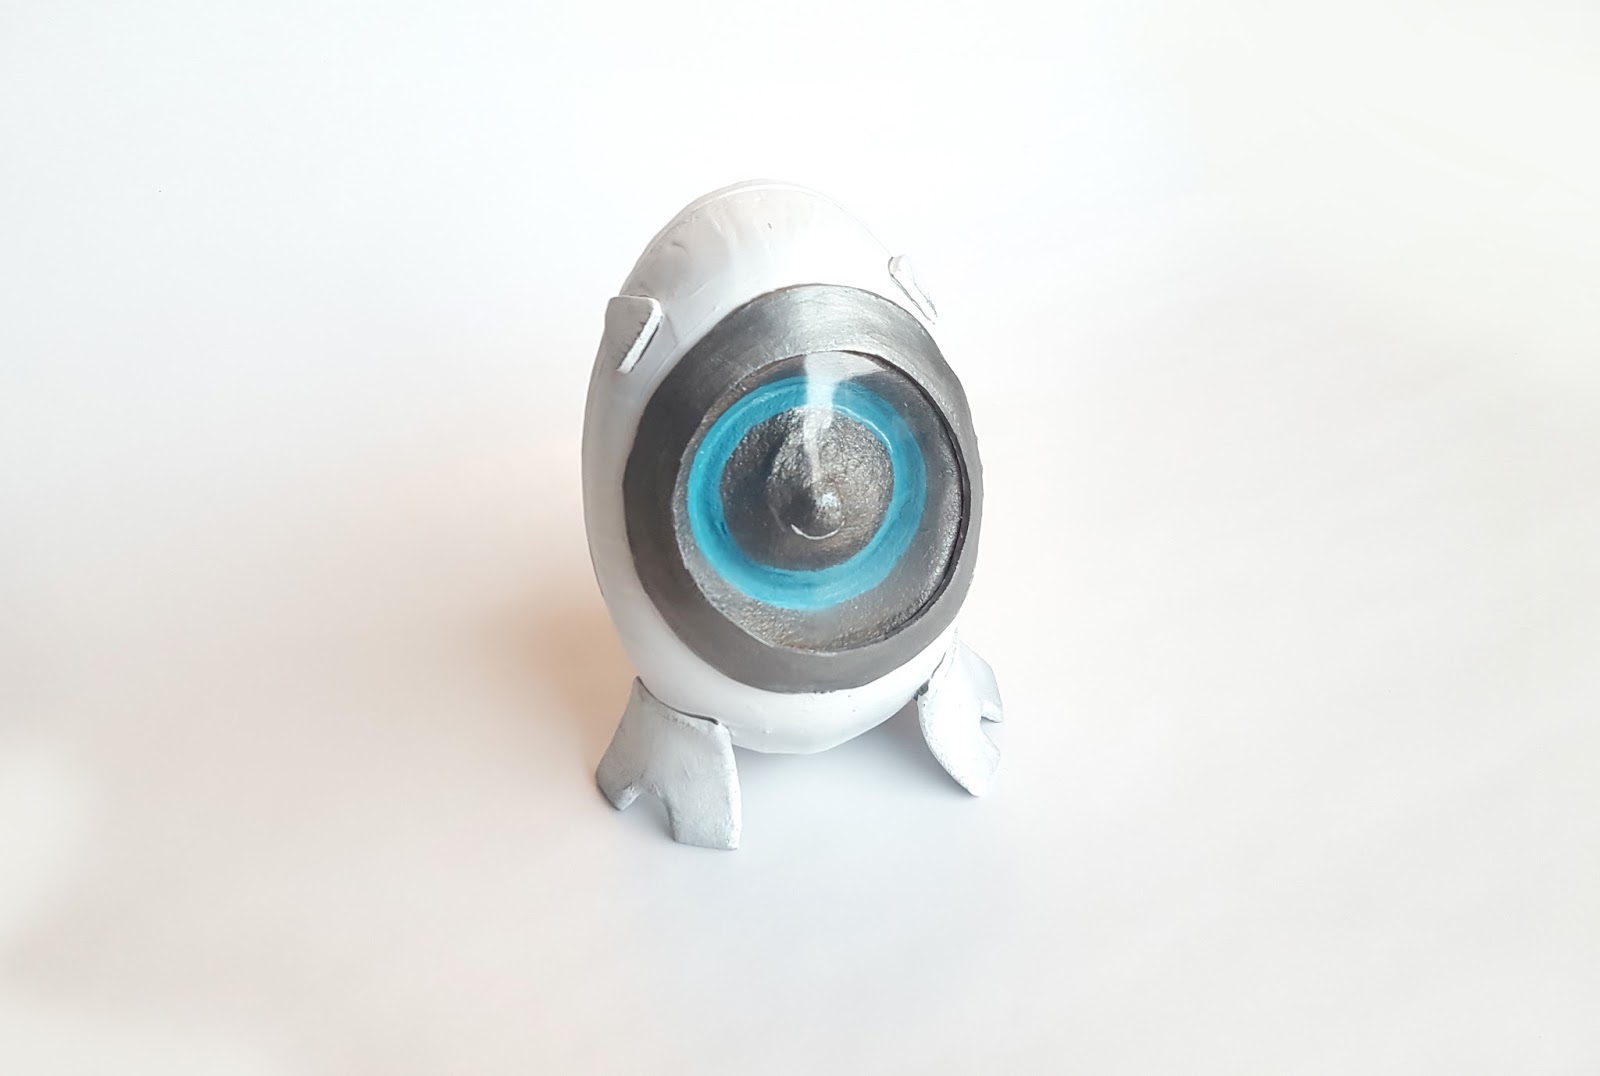
A little more advanced. I cut out a hole in the middle and added an indent with worbla with a "visor" made from transparent worbla. Feet are also made from worbla. Then a little paint and some airbrush. 


The onion plushy - Pachimari
Details are only 2 mm foam cut outs and some paint ^_^


There you go - Happy Easter