søndag 15. desember 2013

Couture deer makeup

The Deer makeup have to be this seasons most popular look. I have seen several versions on the Internet these last days, but the one who caught my eye already in May (yes, I have been planning to do this makeup for half a year) was one from pinterest made by cheapfrillsandthills. She has also made a video tutorial for how to get this look. 

But I'm no fan of the "harsh outlined over sized eyes", they do not look good on me. I also did't like the harsh lines on the nose. So here are a few steps on how I made my look, including how I made my horns. 

My way
I still wanted large eyes, so I put in my 14 mm black circle lenses. And with a sponge I add white creme makeup a long my nose and around my eyes and forehead. 

I outlined my eyes with black eye liner and sealed the white creme makeup with white eyeshadow. 

Then I took an orange creme makeup on my cheeks and forehead, and covered it again with bronzer and golden highlights. 

Then with a q-tip dipped in white creme makeup I added the dots. Here I have also contoured under my cheeks. 


The nose got contoured with brown eye shadow and the brows are defined. With black water based makeup I painted the tip of the nose black. And last I took a brown eye liner and defined my lips. 


One more detail, add super long eye lashes. 


Then it is time for the horns

How did I make the horns? Very fast I tell you. Card board stencils.

Wrapped in tin foil


Covered in masking tape


Which again was covered in papermache and glue

And detailed with the hot glue gun

Place them on a headband 

Paint them light brown with a darker wash, add folded faux leather as ears and twine a red ribbon around. 


Merry Chrixmas ;)


couture deer

torsdag 12. desember 2013

Codex Cosplay - how to build the staff

I love Felicia Day and The Guild. And I have wanted to build her staff for a long time, it is beautiful. I ended of course up with making the entire costume for a Codex cosplay though, as always. 

There is already a really good build guide featuring Felicia herself: Greg Aronowitz. But I still want to show my somewhat simpler build. 
Photo: carddit.com

I started off with a 28 mm broomstick and painted it white. But close to the end I ruined this one and had to use my backup which were a bit thinner, so the overall effect is a little unproportional :(

For the gold details on the handle I cut out four 2 cm pieces from a 30 mm PVC pipe and added a 0,5 cm cardboard ring outside it (as guidance for the clay) 

Next up I added clad and sanded them smooth. 

The finished rings are spray painted gold. 


One of the rings will be on top and will have to add the "wings" which are made from 3 layers of cardboard glued together. Add a layer of filler to make it smooth and spray paint gold. Since the rings are made of paper clay it is easy to cut out the creases where the wings go. 

Glue the wings to the ring and fill them with filler. Paint gold. Here they are together with an early stage of my Vi pauldrons. 

The middle of the wings are hand painted red with acrylic paint. 


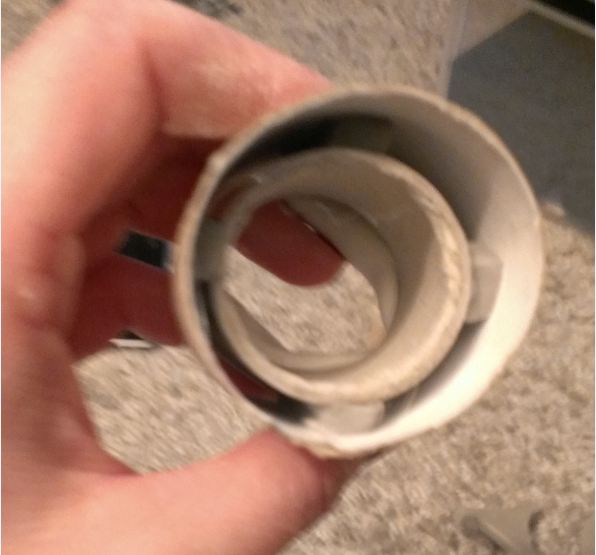
The end piece of the staff is made from a 4 cm PVC pipe (D30) inside a 5 cm (D40) pipe. (the top of a hairspray bottle works) In the picture under I tested with cardboard pipes, but they were not sturdy enough. 


Glue the small pipe in the middle of the large one and fill the gap with paper clay. Make the edges 

Cut of another 4 cm (D30) PVC pipe and use a Dremel to carve out two crescents on one end. This piece will stand perpendicular to the end piece. No photo here, sorry. 

For the Two red half spheres i cut a rubber ball in two, painted them red and glued the on the ends. 


Then you have the green sphere on top. I ordered a transparent acrylic ball online, but it ended up being too big (oh well). I could still use it. I think the diameter was 18 cm (D18). It was painted green on the inside. 

To attach it to the wood staff I used a Dremel and made a small hole to out a screw through. I screw the screw it self into the wood and took each of the half spheres and glued together over it. 


Last step was to add a brown faux leather to the handle and a thin rope above it. 

This is how I made the staff, easier than Greg Aronowitz, but not as perfect.

But wait there will be more!
Sometimes accidents happen, so there will be a bonus post about how to fix broken props, because my staff fell over and shattered. I just have to find the energy to actually do it. 

lørdag 7. desember 2013

Cosplay celebrity at Gamex 2013

So I got invited to Gamex by Bioware this year too, but this time as their cosplay guest together with Karin Olava. And if possible this experience was even better than last year.
Bioware schedule at Gamex - Notice your truly mentioned at the autograph signing. This was so awesome. 

This was also why I managed to finish my Morrigan costume in just two weeks (help when you know you are going to meet your heroes).
Costume check at out hotel room. Looks like two very flat people laying on our beds. 

Day 1: We got to be on stage before the showing of the European premiere Dragon Age gameplay trailer, I even got presented to the audience as Morrigan, epic! And Bioware know how to appeal to their fan base, the main stage was filled to the brim (and then some) with people wanting to see their presentation. Community manager Lion Martinez gave a really good presentation. 
Photage by PoweGamer

On Day 2 we were part of their cosplay stunt this year, getting to sign giveaways. Incredible experience, I got to sit there for 45 minutes and talk about Dragon Age with so many fans. One guy even brought the covers for his older DA games for us to sign. 
The line of amazing people I got to talk to.

The backside of the give away card we were signing. I wrote different thing depending on what I talked to the fans about, like "Morrigan approves" (if the like the DA or ME) 

The signing is about to begin. 

We also got interviewed by PowerGamer where they wanted to know a bit more about our costumes and how to get into cosplay in general. Take a look. 

This was an amazing experience for me, I would not have dreamed of experiencing something like this, but it did, and I'm Mega Happy. Now I need to get hold of some Mass Effect 4 concept art, and we are on again.