I have made several corsets before, some simple and some a little more advanced. This will be the best one of them all <3
First let's take a look at the corset, which obviously is an underbust corset. It has a smooth surface and the color matches the jacket. The triangle is a little lighter than the dress. Also you cannot see the lacing on the back.
I started by making a brand new pattern based on my measurements. I followed this tutorial by Katafalk to draw it up.
With my new pattern I sewed the corset core out of canvas, this would both work as a mock up and as the strength layer.
I sewed a waist tape to the mid layer (a ribbon to absorb the stretch tension), see this tutorial by sidney eileen for more details.
I also sewed the pockets for the boning. I will be using steel boning, both spring steel and spiral steel.
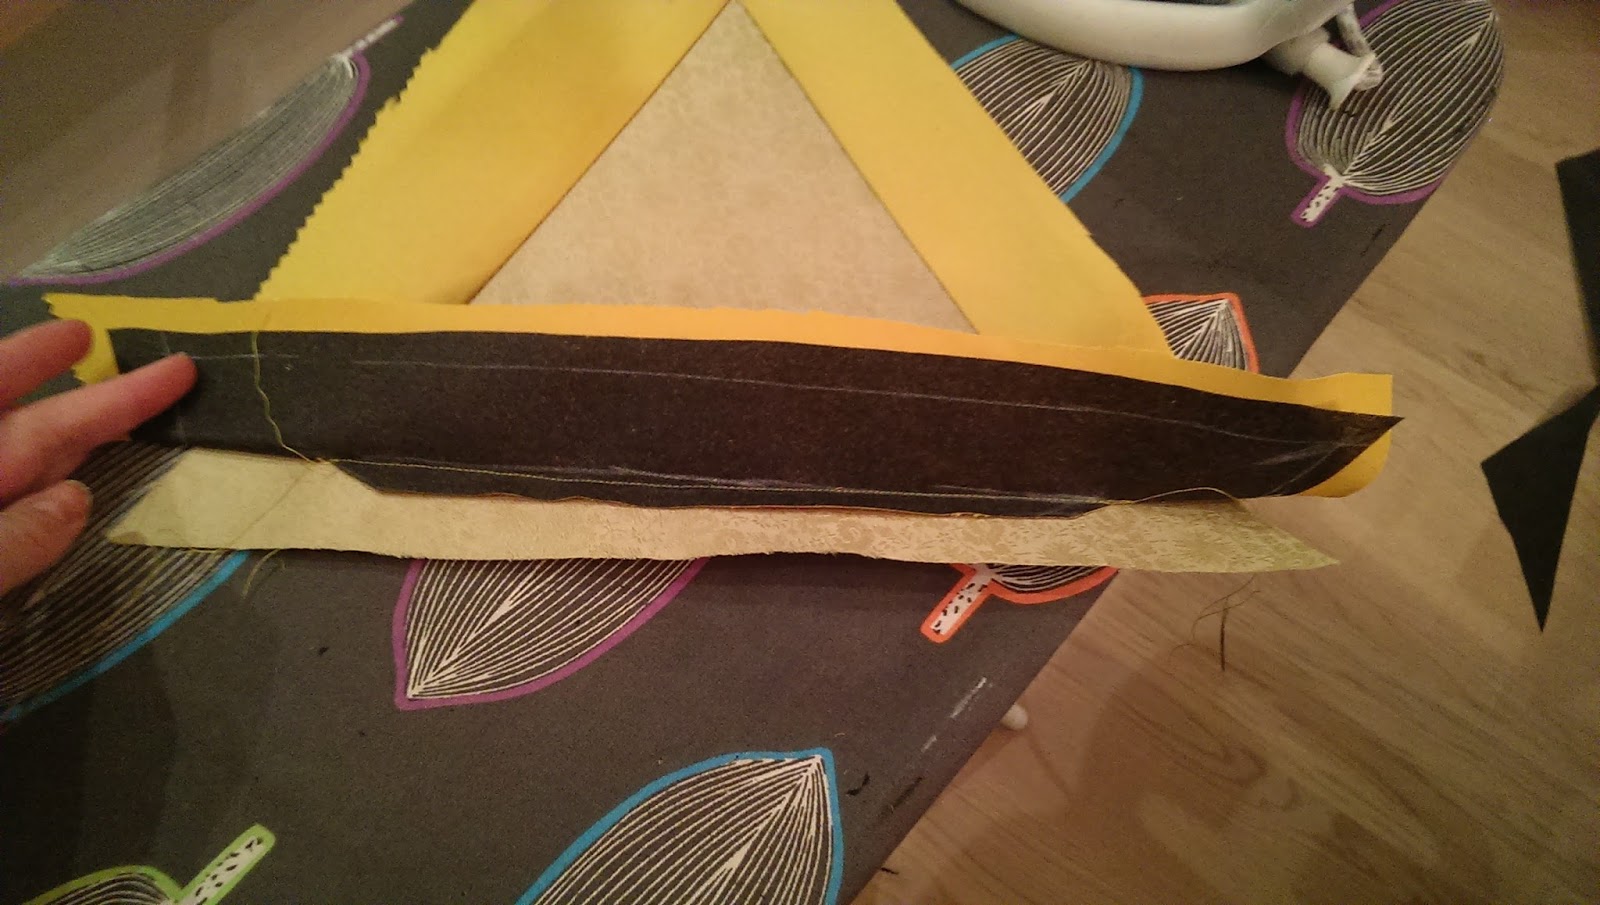
I sewed the lining and top layer from the same material as the jacket, to keep the over all design simpler and not break it up with too make textures.
The top layer is top stiched to make it appear smoother.
The triangle emblem is sewn onto the top layer before sewing the three layers together. Originally I wanted the emblem to glow, but my EL panel turned out to have a green glow. Well, back to plan two in stead. Since I have kept the materials choices coherent so far I could "treat" myself to one patterned fabric for the inner lighter part of the triangle.
To hide the lacing in the back I added a modesty flap on the outside with an invisible zipper. To make sure the modesty flap was aligned perfectly I laced up the corset and got help to pin the flap in place while on my. Then I used that position to sew it on. ;) So far I haven't seen anyone else do this to hide the lacing, but it worked very well.
The grommets were of course added before the modesty flap was sewed on. If you are curious on how to lace up a corset then you are in luck, Sidney eileen have written about that too.
Last step was to sew on the bias tape. For this I used a mothod called "stich in the ditch" which make the edges very clean.
Video by MythosCreations
Final corset :D My best one so far. Can't wait to get some really good photos of me wearing it.
This is the first blog post in many about my Red cosplay - enjoy. No detail shall go unnoticed, and Red is wearing a ring on several of the concept art photos which I want to make out of metal! For your information, I tried a lot of different techniques for this ring and they are all described in this tutorial. So it will not be a straight forward tutorial, more a showcase of my trial and errors.
The first action was to get the correct scale of the design. In InDesign I scaled a photo of Reds hand and scales so her ring finger were the same length as mine.
Make it out of metal I have never worked with forging or metal casting before so I contacted a silver smith (that hangs out at Bitraf, my workshop) and asked him to teach me how to forge silver. Because it sounds so much cooler to say it was forges in silver than cast in resin. This ended up in me trying out several methods
I will describe how I made a plain ring out of silver
How I tried to cast the emblem using a plaster mold
How I made the emblem using sand casting.
The base ring in silver First I needed to know the circumference of my finger. We used a test ring and mesdured the diameter and applied simple geometrics to it ;)
Then we drew up the measurement on a plate of silver
Ready to make it circular. I don't remember the name of the tool use to evenly widen the ring.
My starting point
Getting there
Almost
Yeay, it is round
And here's another photo of Heresetai hammering her ring.
Then it is time for sanding, first making the edges even with grit paper.
Then curving the edges with a file and a sanding sponge.
I like the shape
Clean it. This looks very fancy, but it is just alcohol in a jar. The ring is in a tea infuser, stir it around and take it out. Then you set it on fire to remove the alcohol.
My ring is clean and it is time for polishing. The outside was polished using wax a the tourney in the workshop. The inside was polished using a dremel.
Gosh so shiny
I love it so far, just think this used to be flat!
The ornament I tried two ways to do this, one test that didn't work so well , but the other gave a great result. I will describe both methods. First the failed test, casting using plaster (only cast in aluminum). I made a clay shape of the ornament
The clay was covered in plaster. It is very important that your plaster dries completely before pouring 8-900 degree Celsius liquid metal into it. Water and heat expands and will make the mold explode.
My plaster mold cleaned out and ready for a test cast using aluminium.
Warning sign so others in the workshop know there's some serious heat going on.
The crucible steadily heating up and melding out aluminum
Tools ready
I got a little help pouring
First test, a little overflow ;)
Conclusion This could work, but would I need to construct the plaster mold a little different, I did not get enough pressure to get all my tiny details. So either a two part mold or using sand casting.
The second try - sand casting I made a shape in clay again
Cast it in silicon this time (so I could make very fast tests later)
Then I cast my emblem in resin
Now I have a nice mold that can take a beating How to sand cast I basically learned what needed to be done from this video and then Torbjørn (the silver smith) guided me through the actual process. I made the cast one part though, much simpler.
The emblem was pressed into the sand.
This is obviously not the emblem, but an earlier test with the ring. As I filmed the actual test, I did not take any photos. Dig out the pouring funnel and air vent.
Ready!
And melted silver was poured in.
Emblem out. Here you can see all the silver from the funnel that presses the silver into the entire mold. This is what failed with the aluminum test I wrote about a little higher up.
After I sawed out my piece the sanding starts. When the worst is sanded off I used a mill and carved a flat spot on the ring, so it would have a better attachment surface for the soldering.
Using the helping arms of a soldering tool I held the two parts together as I soldered them together.
During the heating of the soldering process the ring changes color and gets specks of green, blue, pink and orange :D
With my trusted dremel I polished the facets of the ring to a shine.
The ring also has a small red stone. This I cast in resin. I took a LED and cast it in silicon.
My tiny silicon mold.
One test gem. I had a little too much red dye in this batch.
Epoxy glued the final gem on.
The ring has a yellow surface around the gem. This might not be the preferred method for durability, but I used nail polish therefor being sure the tone of yellow matches my nails.
I might go over it with the dremel to polish it a little bit more before the competition.