mandag 25. august 2014

Post apocalyptic powerpuff Girls

Cosplay is fun! And this amazing group cosplay was done together with Bettcanard Design and Neko Cosplay earlier this spring. I made the lovely temperamental "Buttercup". And here is the break down of my interpetation of a post pocalyptic style for her. 


I had a suitable wig already (and my eyes are naturally green).

And I figured that Buttercup would have the most dramatic almost Goth like makeup of the three. Pale skin, heavy eyeshadow and green lips. 

A shotgun is an accessory right?


tirsdag 12. august 2014

The Dragon Warrior named "Cardboard"

So I didn't know what to name my new original character, which I though looked like a Dragon Warrior, so the people on my facebook page named her "Cardboard". 

Chest armor tutorial

Crossbow tutorial

Pauldron tutorial

Horn tutorial

Corset tutorial

Making gelatin tutorial
The mold for the angry brow was made by Karin Olava Effects


And here is a youtube video of me putting on this makeup

Cardboard props - Dragon horns

I still think cosplay shouldn't be overly expensive and I love challenges. That is why I often use cardboard and other cheap materials for my work. 

This time I made a new pair of dragon horns, I did another pair for a demon last year, tutorial here. But the method this time was a little different. But still very simple. 

I started of by creating the shape using tin foil.

For the scaling effect I just tore long strips of newspaper and glued them on layer by layer starting at the tips. Only a glue gun was used at this stage. 

Here you can better see the "scaling" effect from the paper strips. 


The horns were painted a black base color (gesso). Remember to paint under the scales as well, this will also lift the scales a bit upward. 

Then we have a brown base color. 

And every scale was first shaded with a darker brown and then every tip got dry brushed with gold paint. 

The first time I used them I attached them to a head band, but the next time I attached a single hair clip to each one (crocodile clip) so they could be attached to the wig as I pleased with out having to conceal the headband. 


mandag 11. august 2014

Cheap cosplay - use cardboard as your material

In an earlier post I wrote a bit about how to plan your costumes and which materials to use, but I want to add this post as a sum up of most cardboard based costumes I have made. 

I love to use cardboard and other trash as building material, and you get a way more interesting story when people ask: "What is is made of?" And you can answer: "You know, what ever I had that day, pizzaboxes and a soda can..."


So even though you will not get the most resilient costumes, this is a handy way to get some cheap costumes. 


Splicer masks are very popular, here is a way to make those. 

And for Genki I made a "dragon scale" chest armor.  
An elvish pauldron is never wrong, here is a way to use fabric to cover up the cardboard. 

Even helmets can be made out of cardboard and other bits, here is Dovahkiin iron helmet from Skyrim

To make more organic forms paper clay can be your solution. This clay air dries and can be painted sanded and carved when dry. I buy mine from Clas Ohlson
And with this clay you can make staffs like these:

Sea Goddess - Kraken staff

Death elf - Skull staff


Cardboard armor (Dragon Warrior)

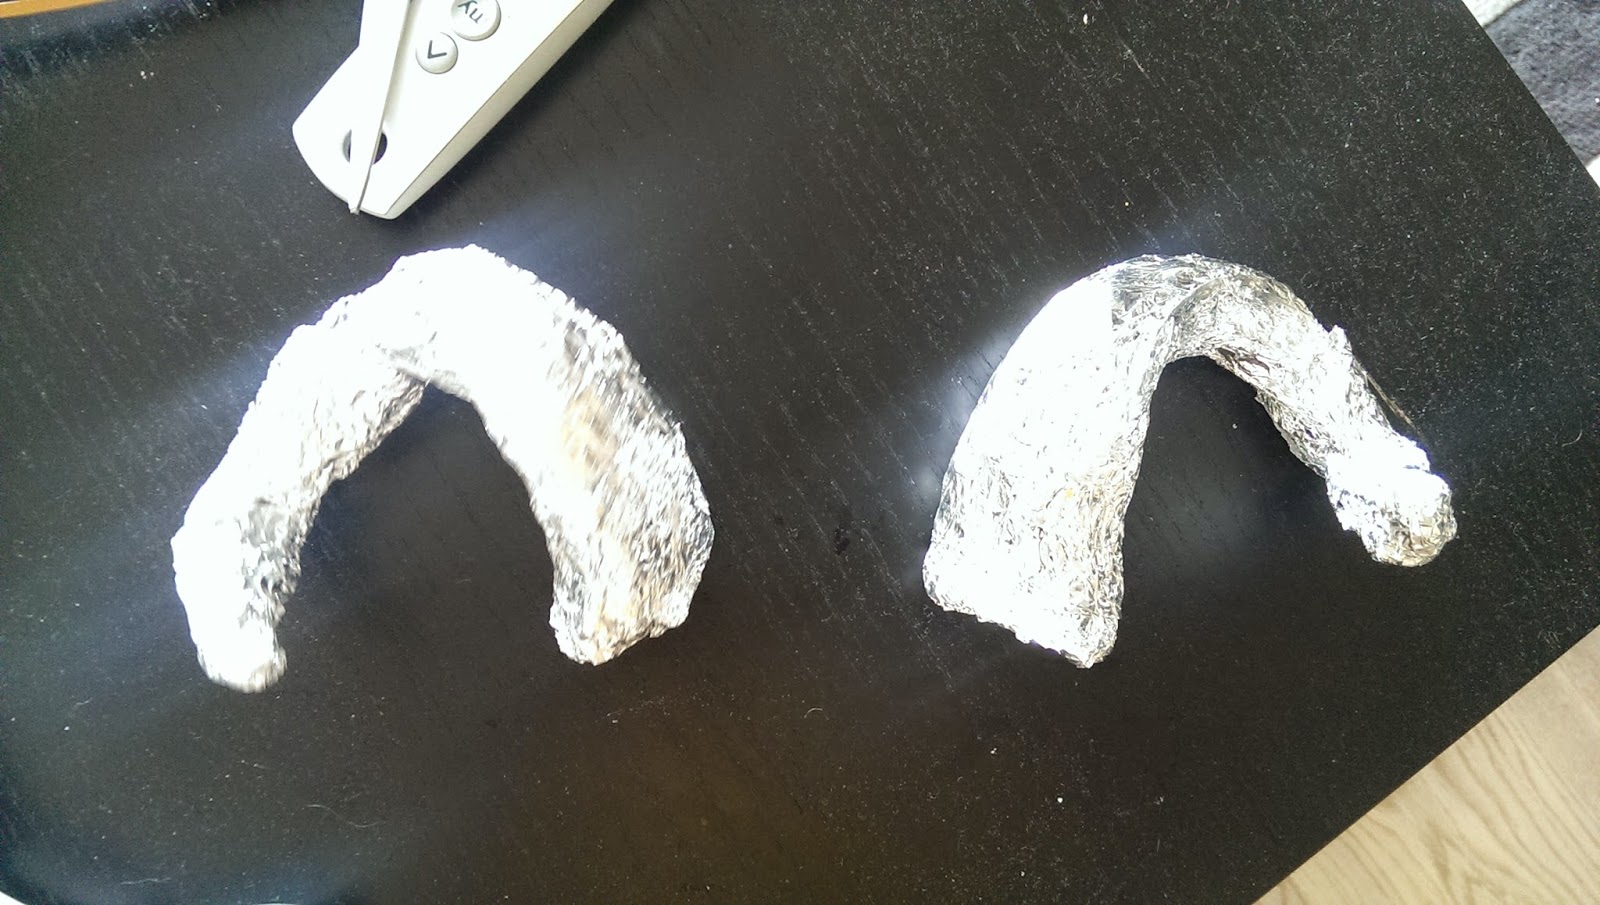
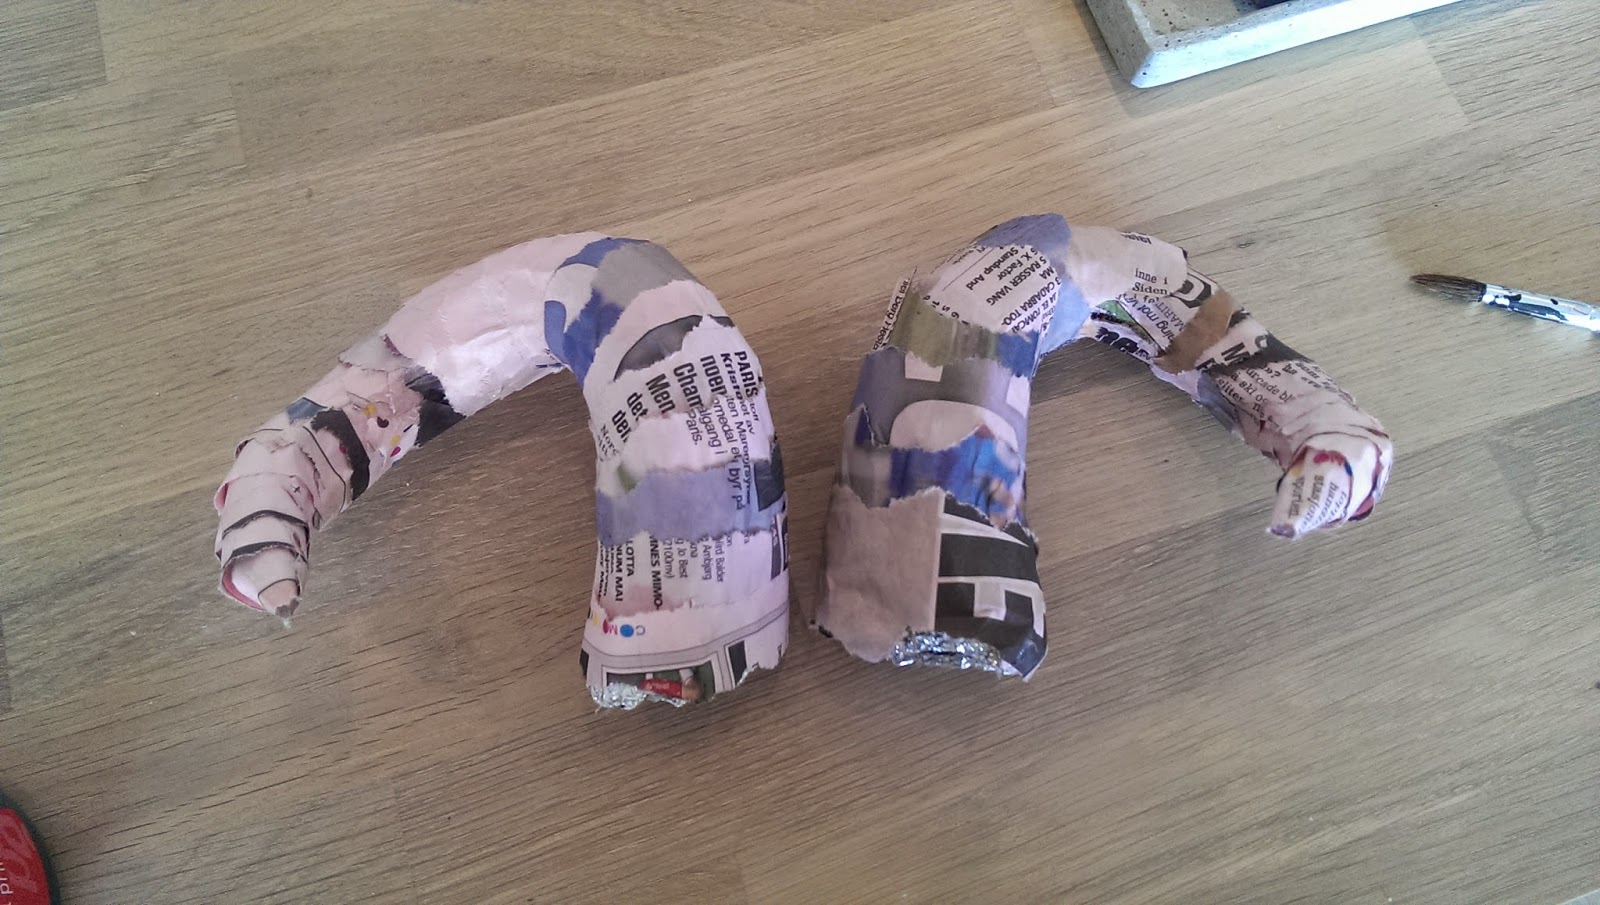
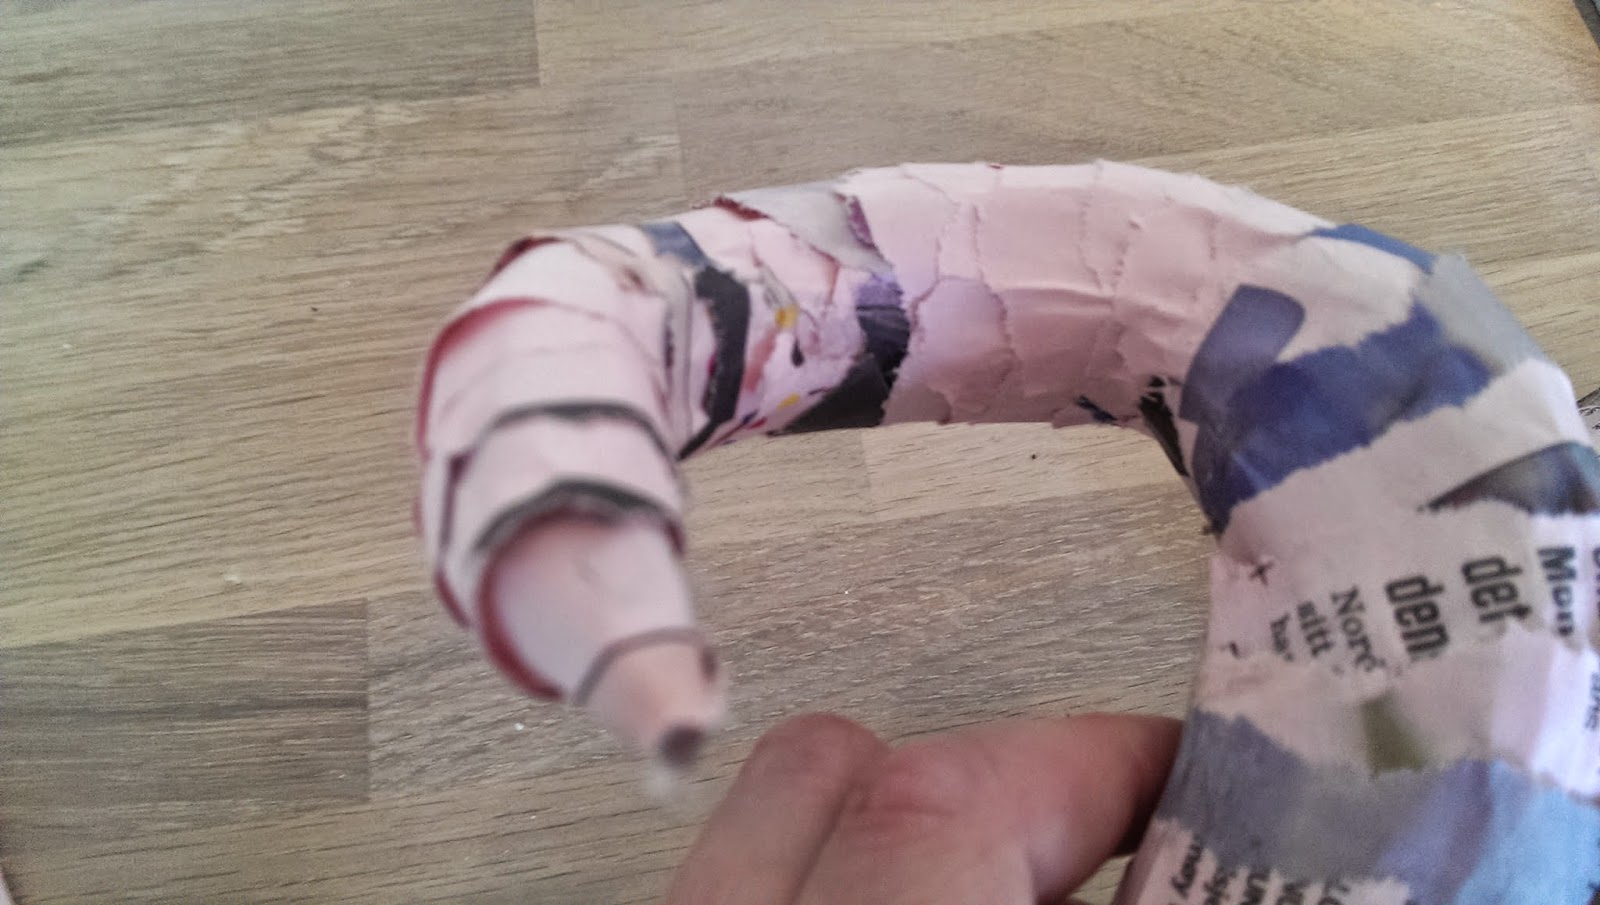
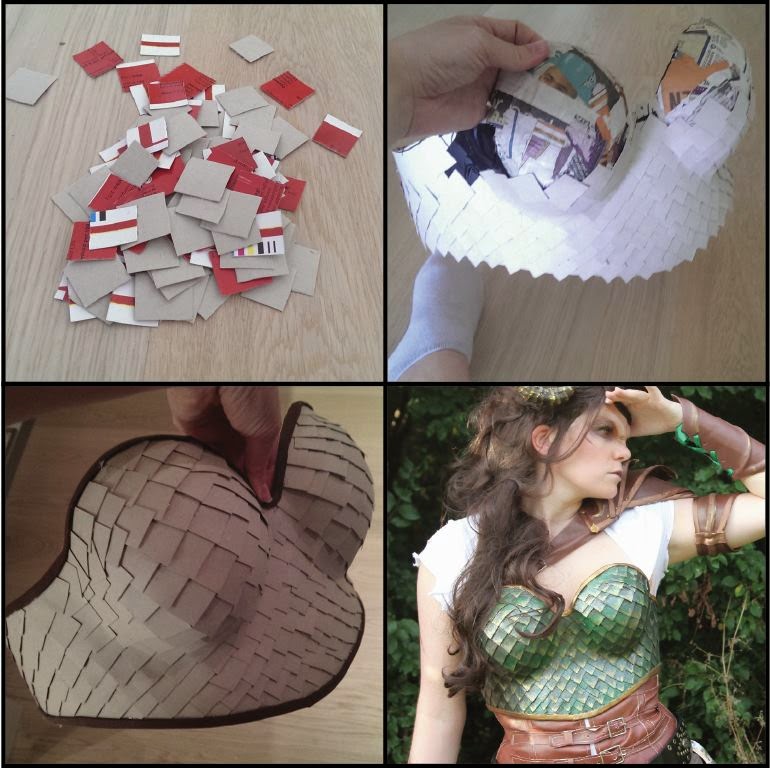
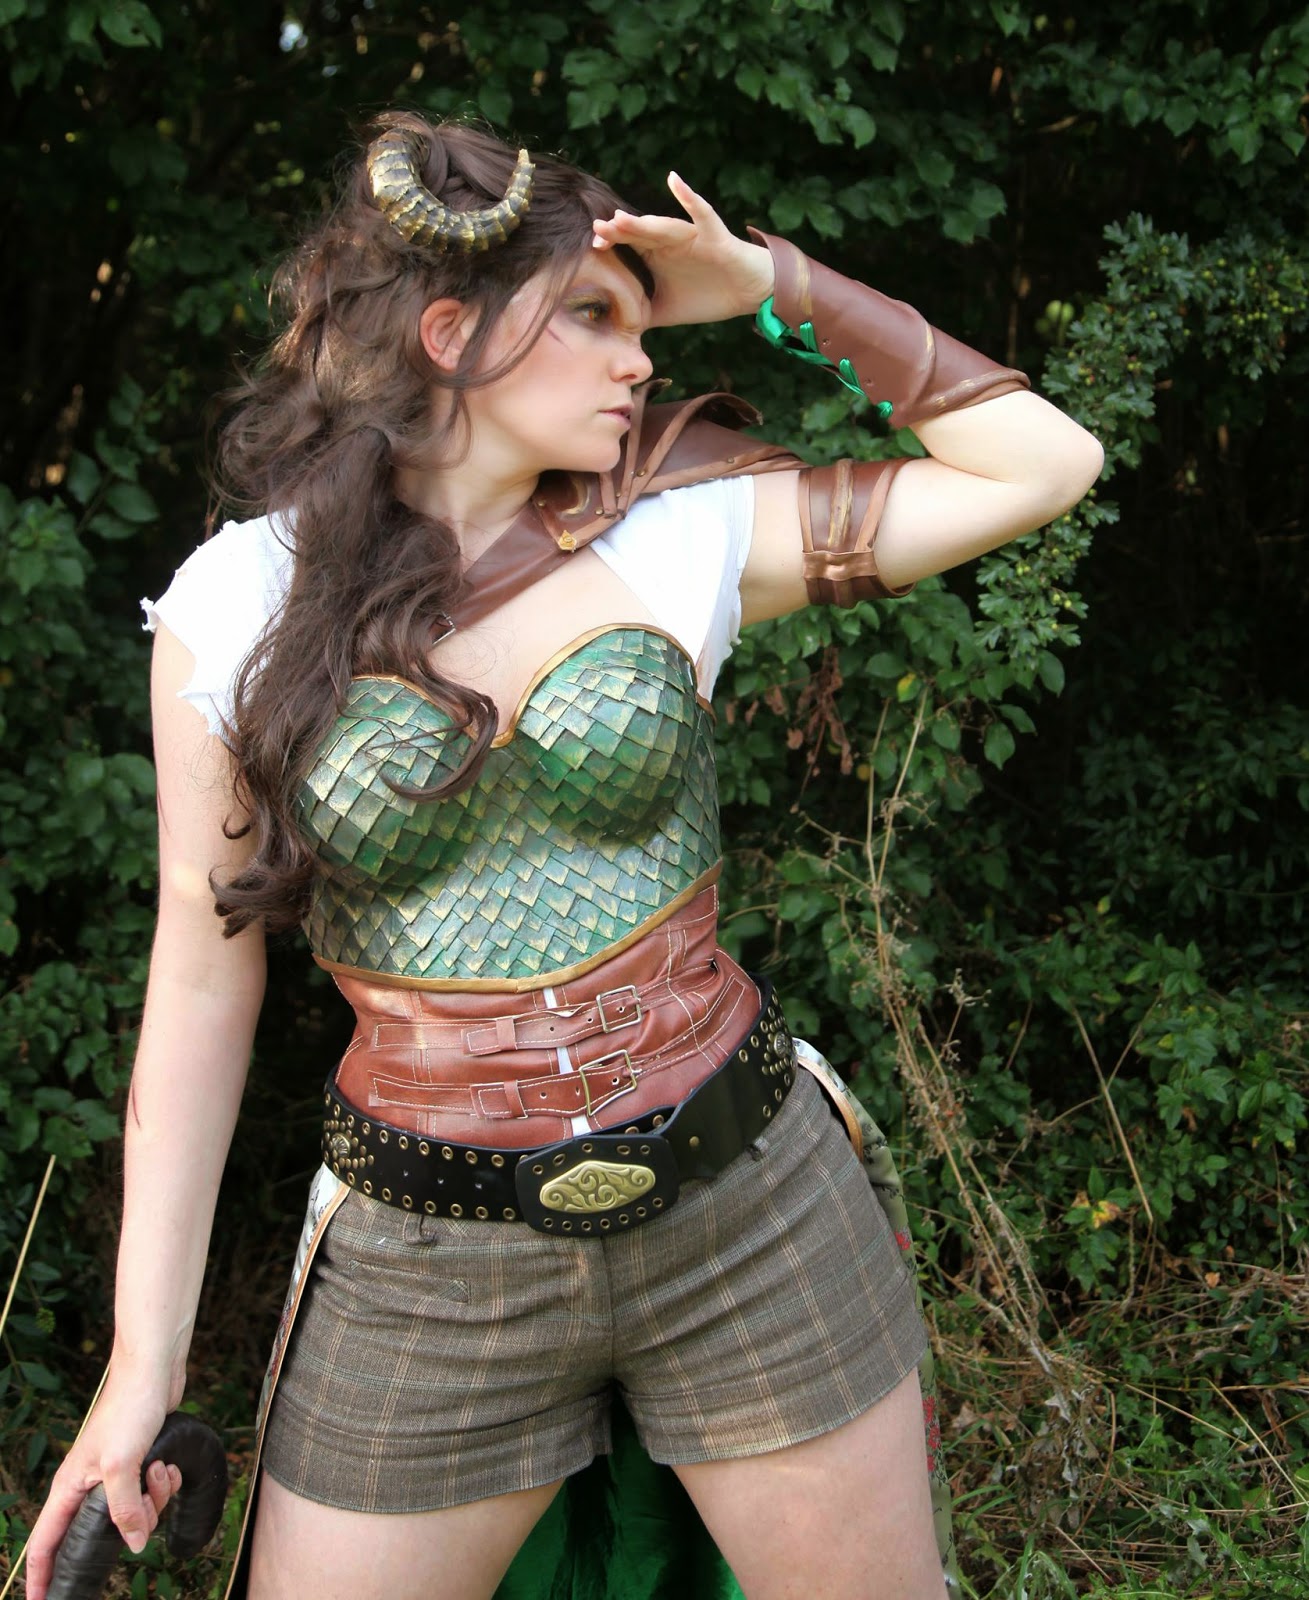
I wanted to show you that you don't always have to use worbla or spend a lot of money on you costumes. So for Genki 2014 I designed a character using cardboard as my main material. 


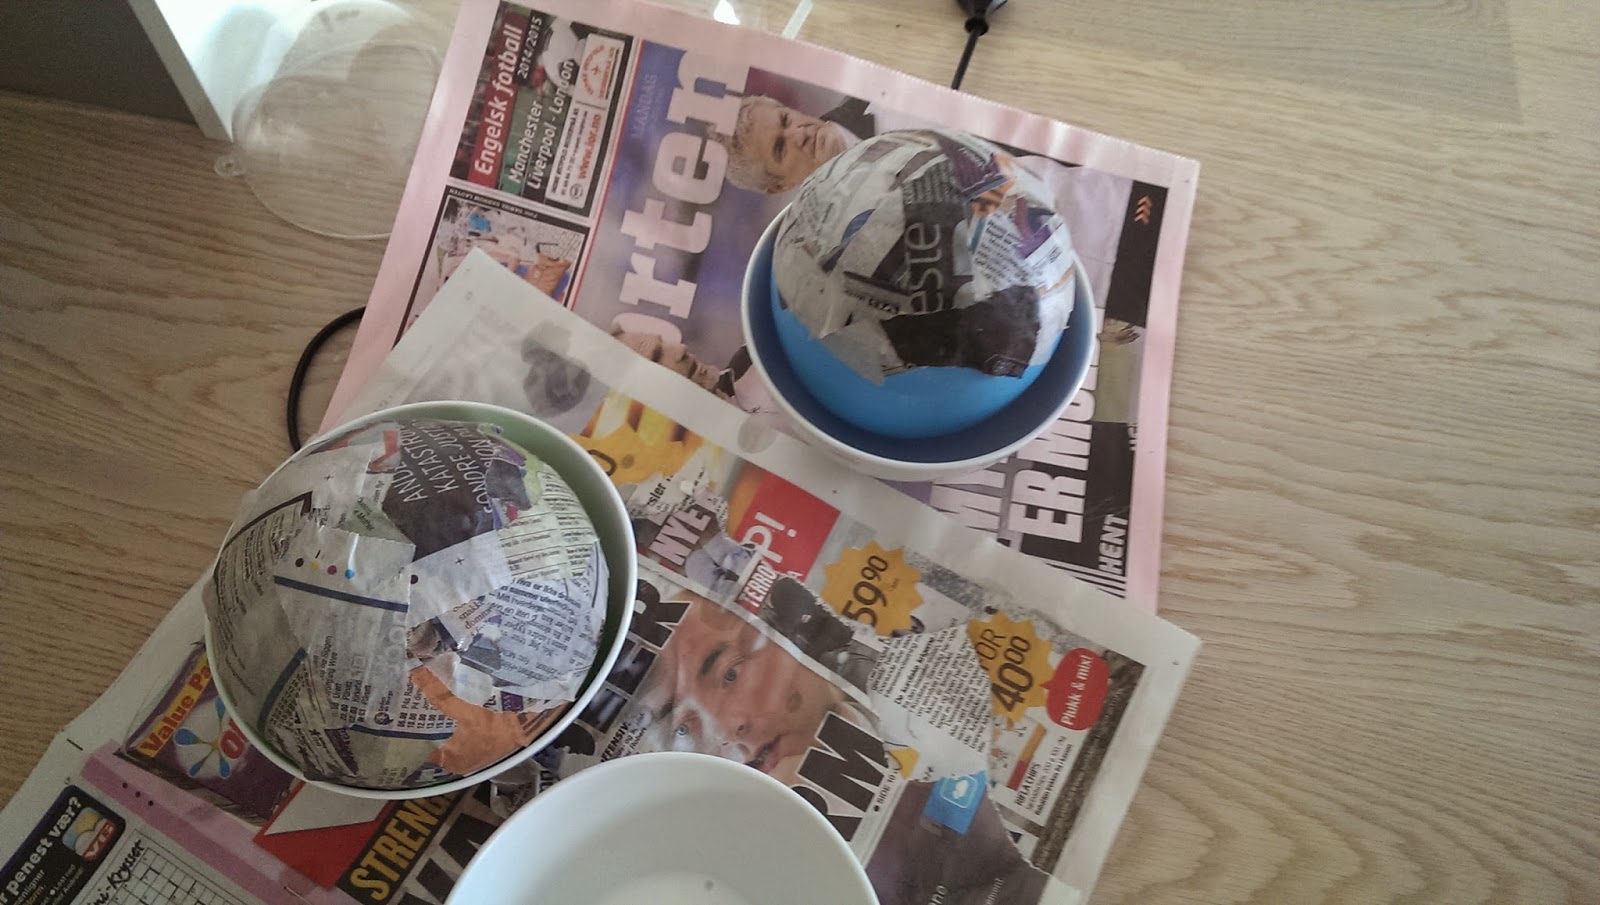
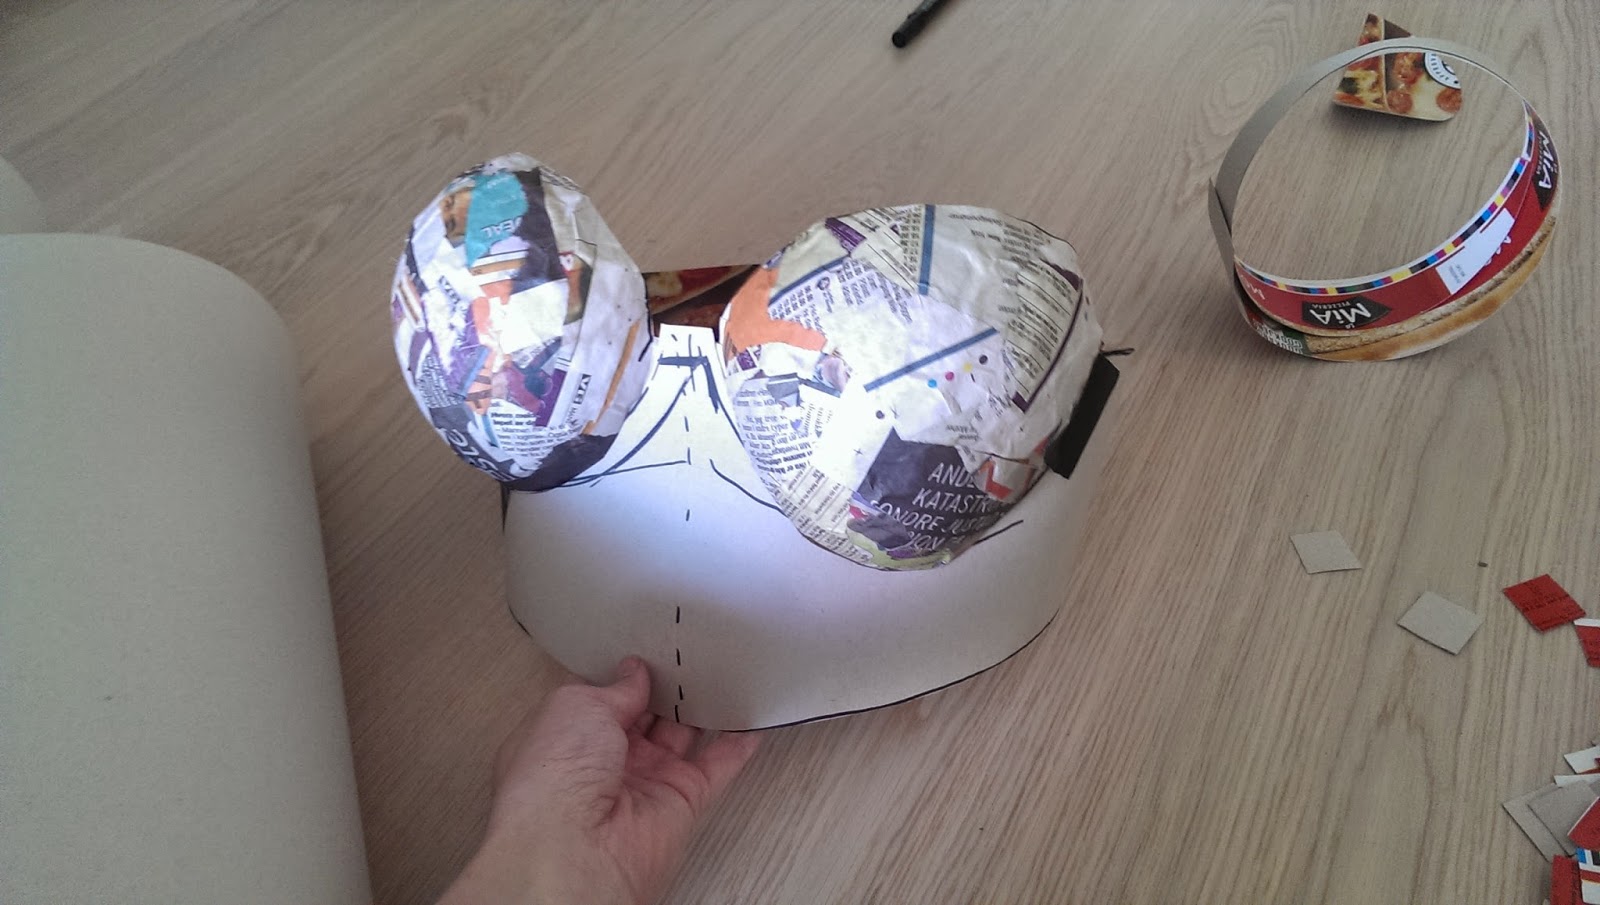
Step one, make a base. To get the Boob cups I blew up two balloons in roughly my size and covered them in paper mache (newspaper, glue and water).

Then I traced a bra onto cardboard and taped the boob cups on. 

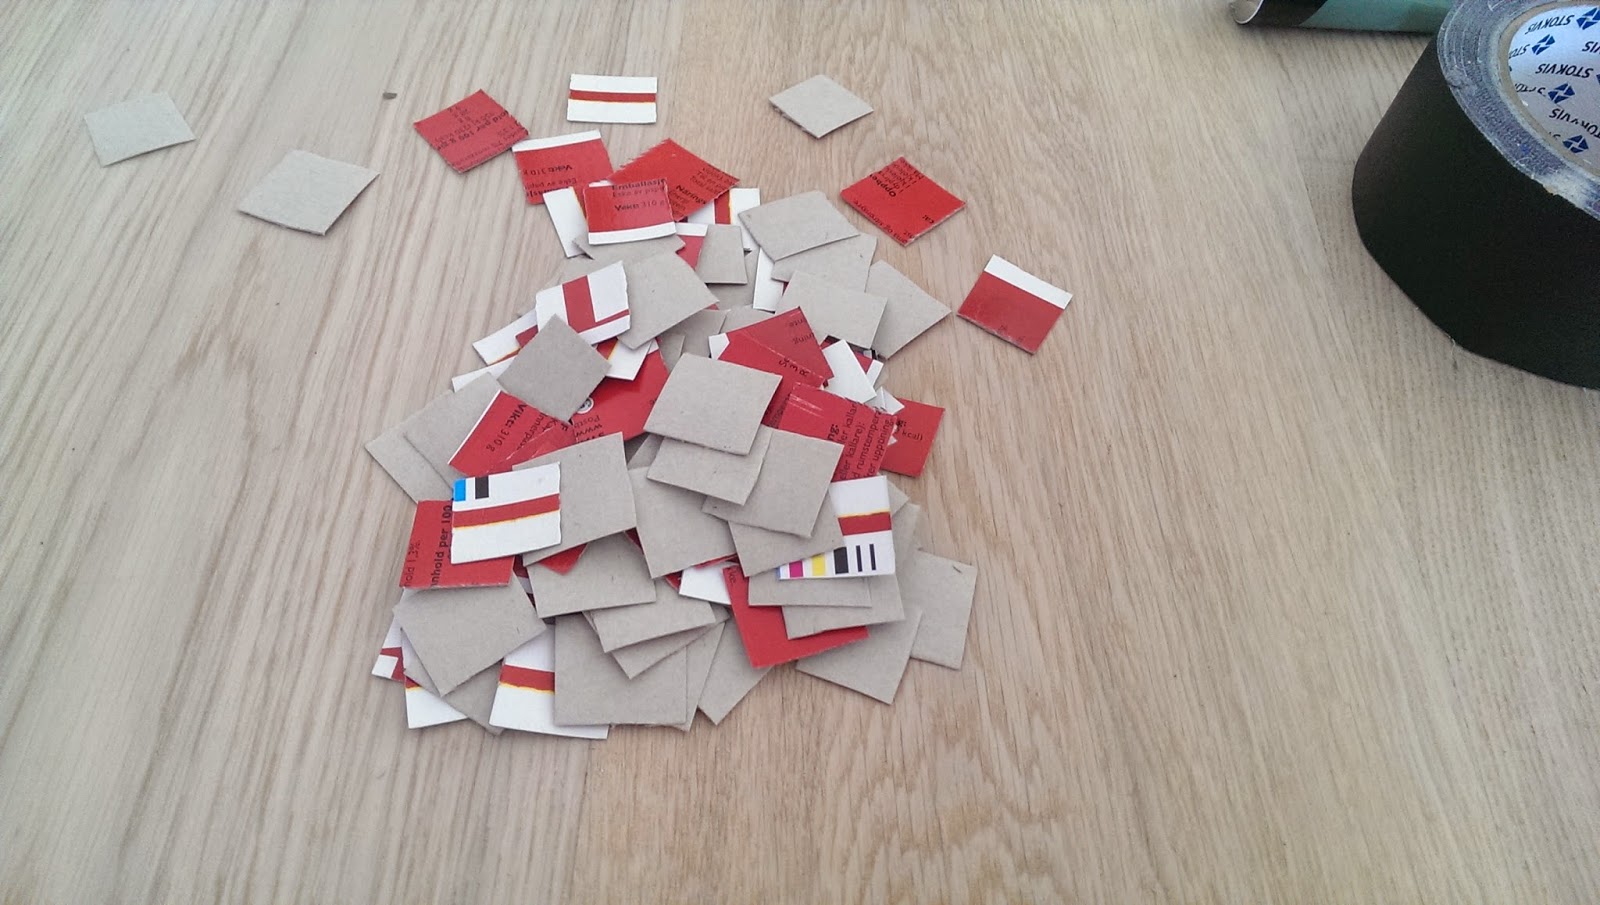
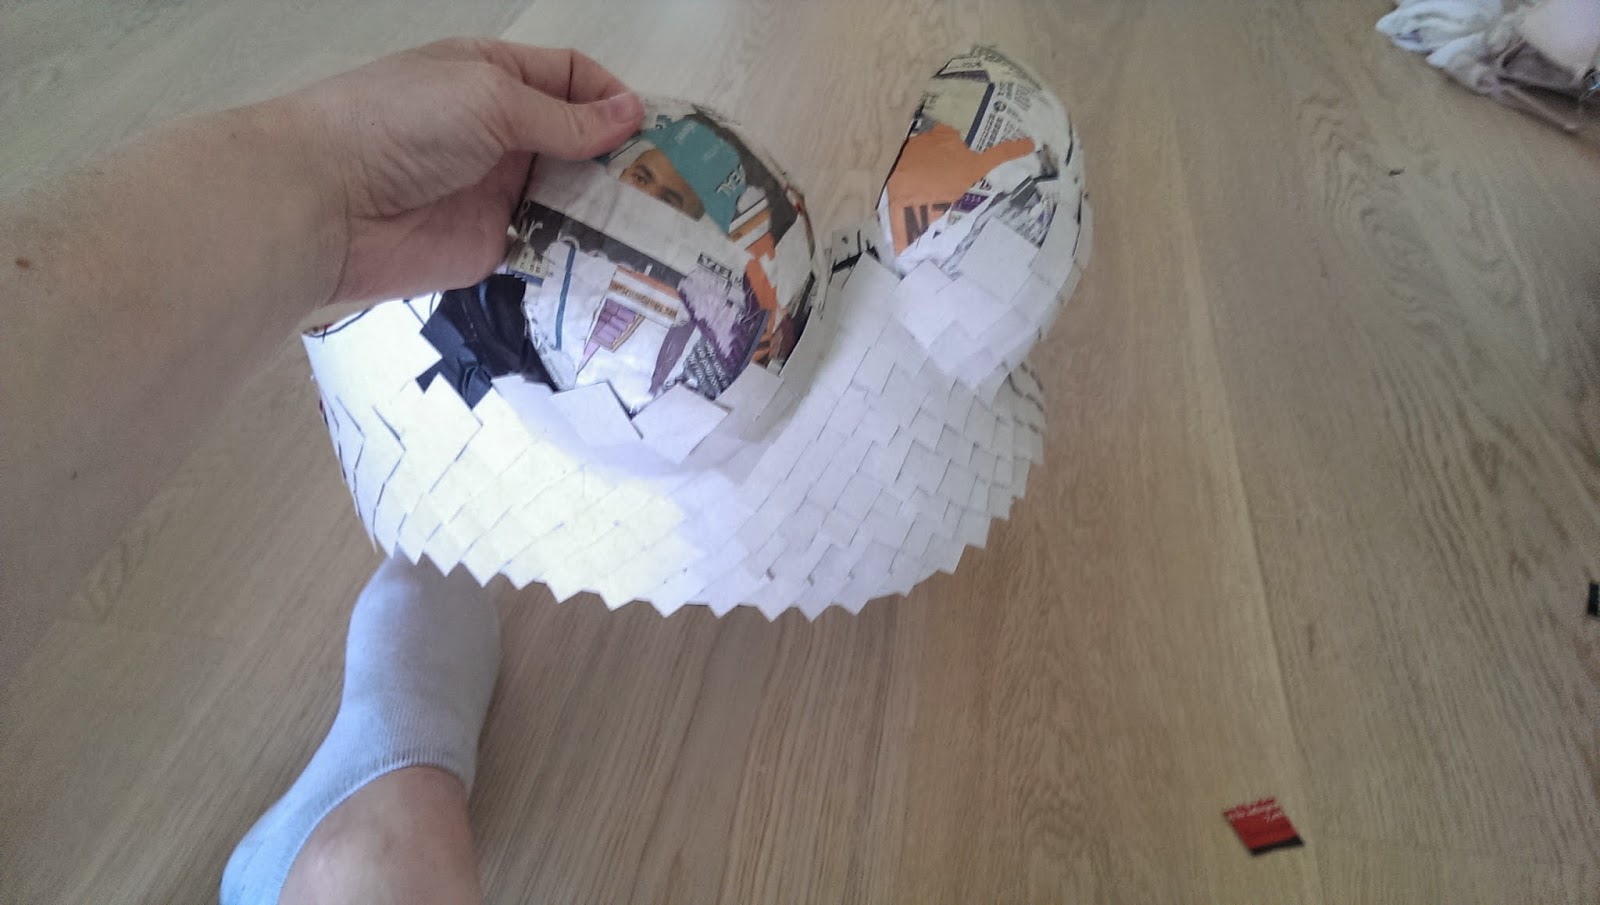
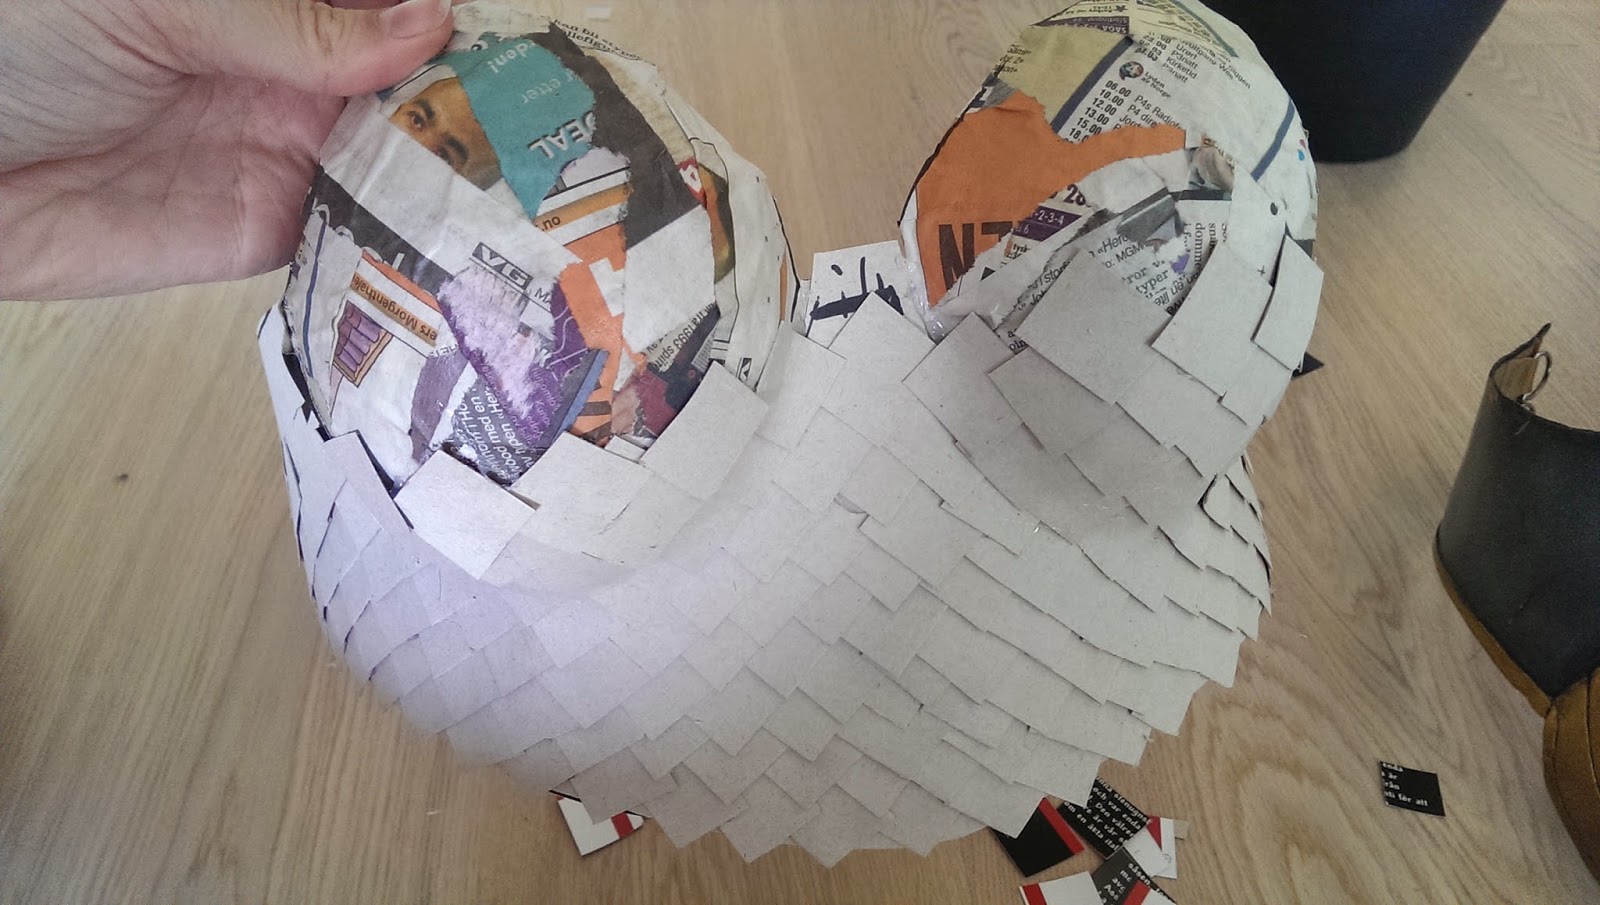
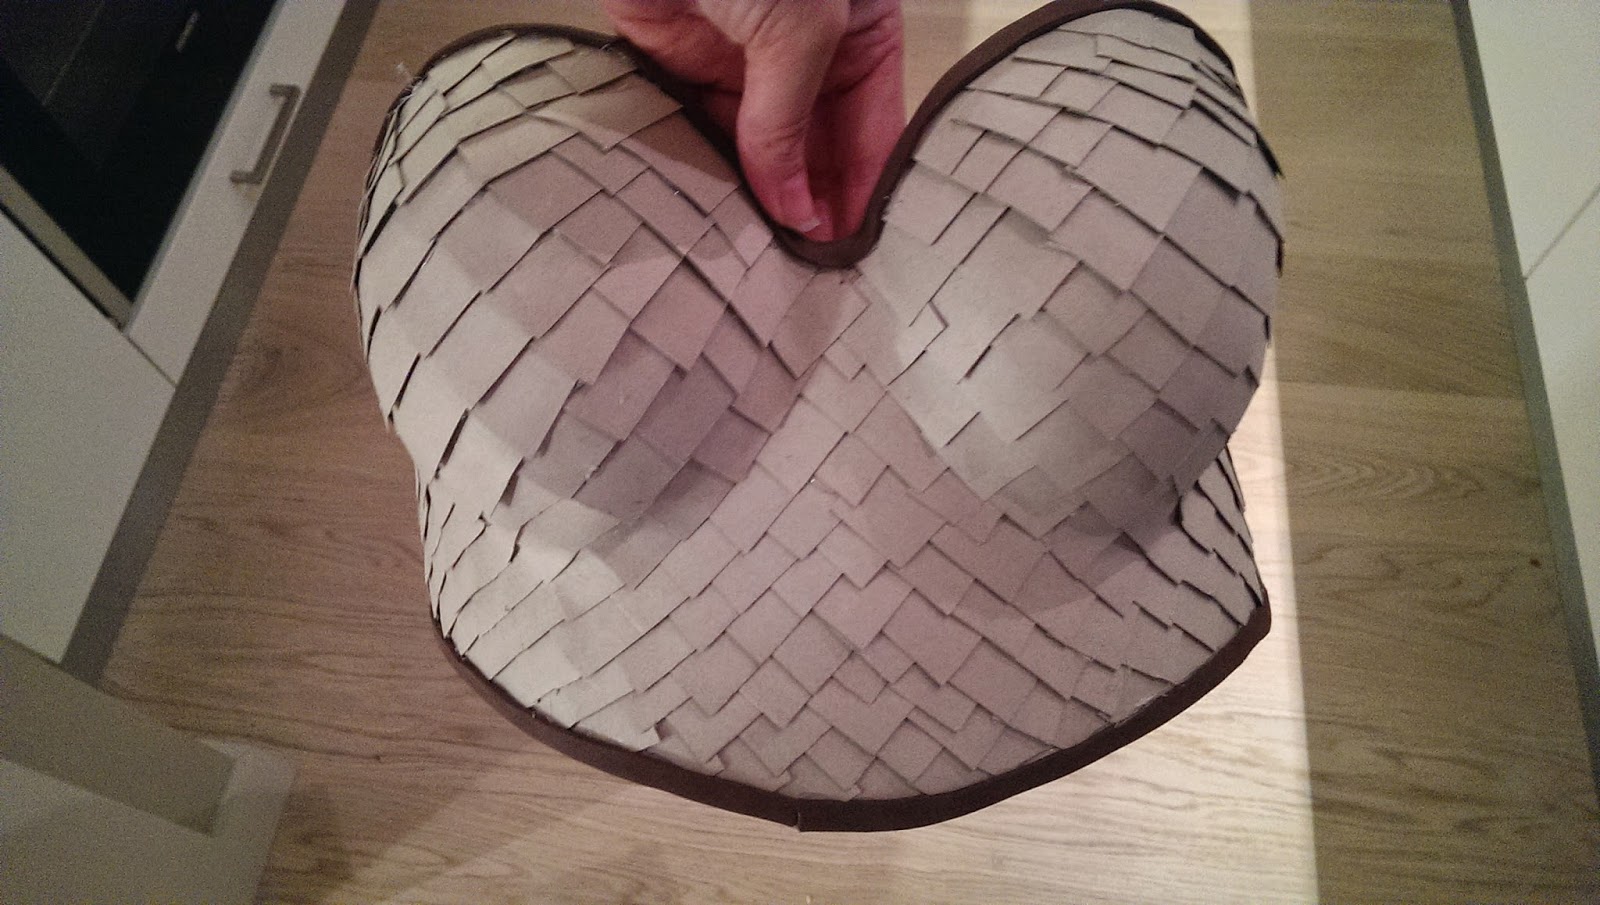
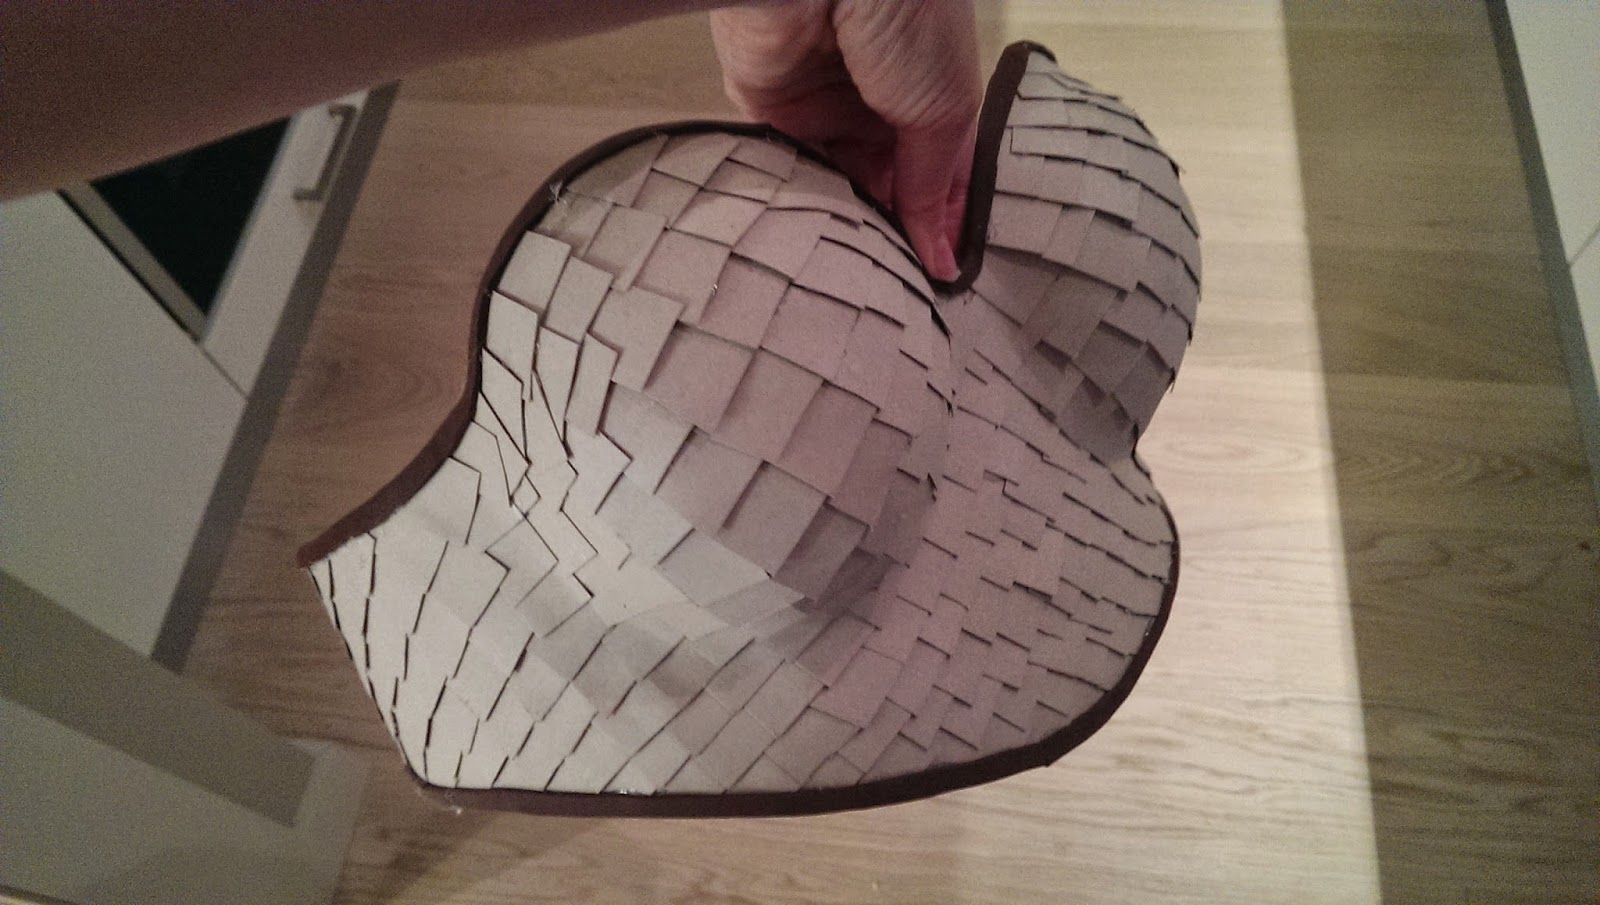
 Squares, so many squares. 

Each square is glued on with only a glue gun. 

Slowly getting there. 

For the edges I used strips of craft foam, again just glued on with a glue gun.


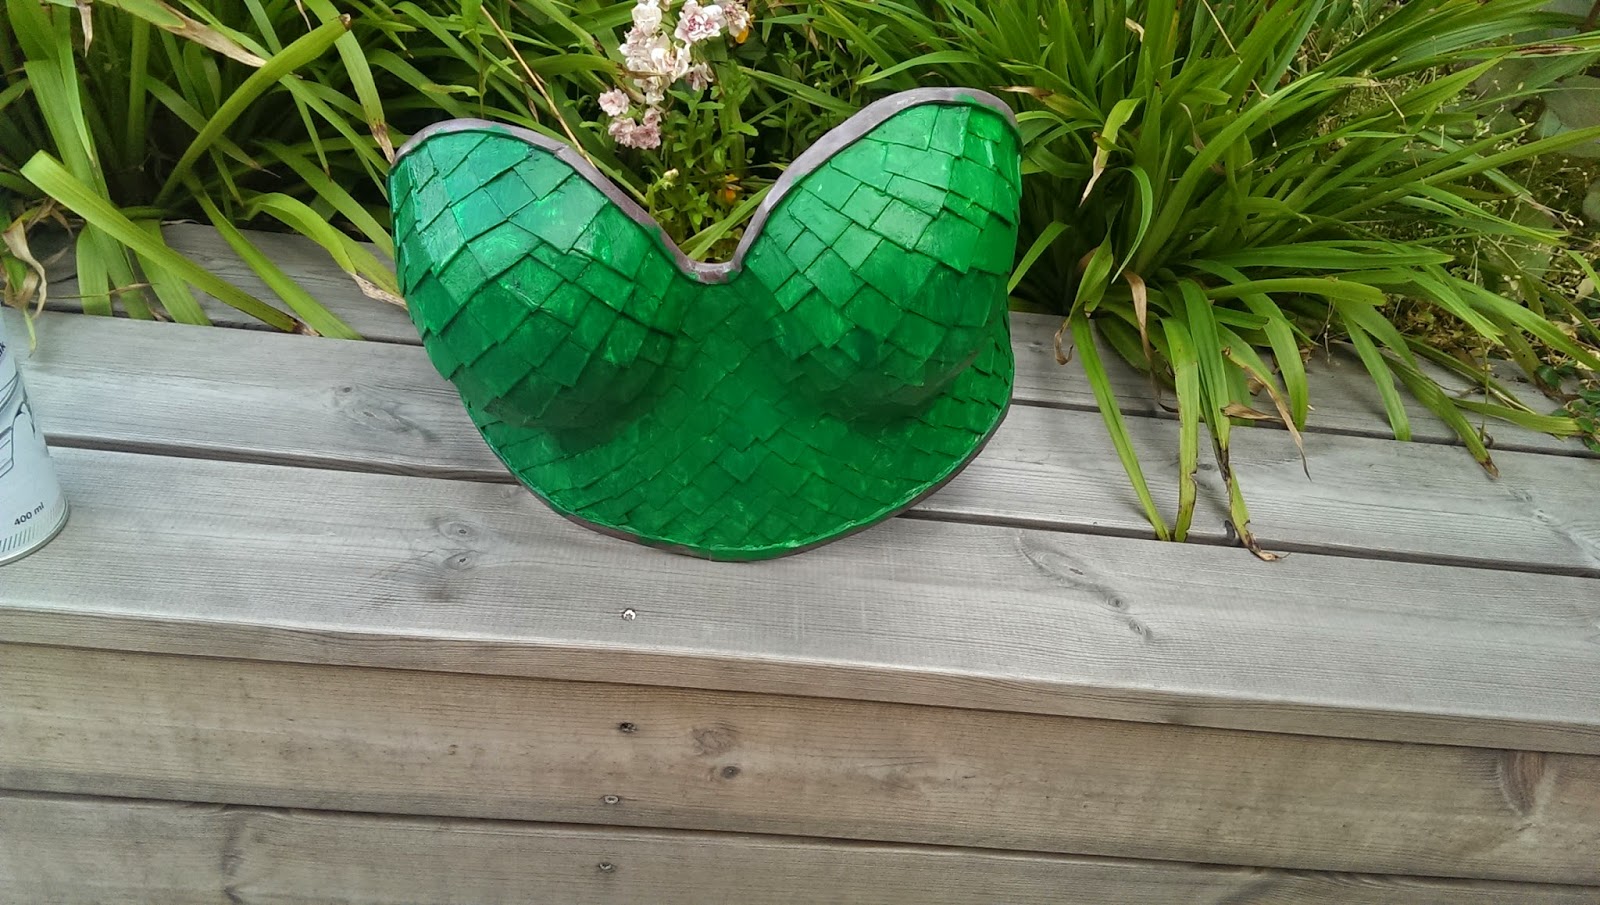
Before painting I covered the entire armor in wood glue. Then I did one layer of bright green acrylic paint. 

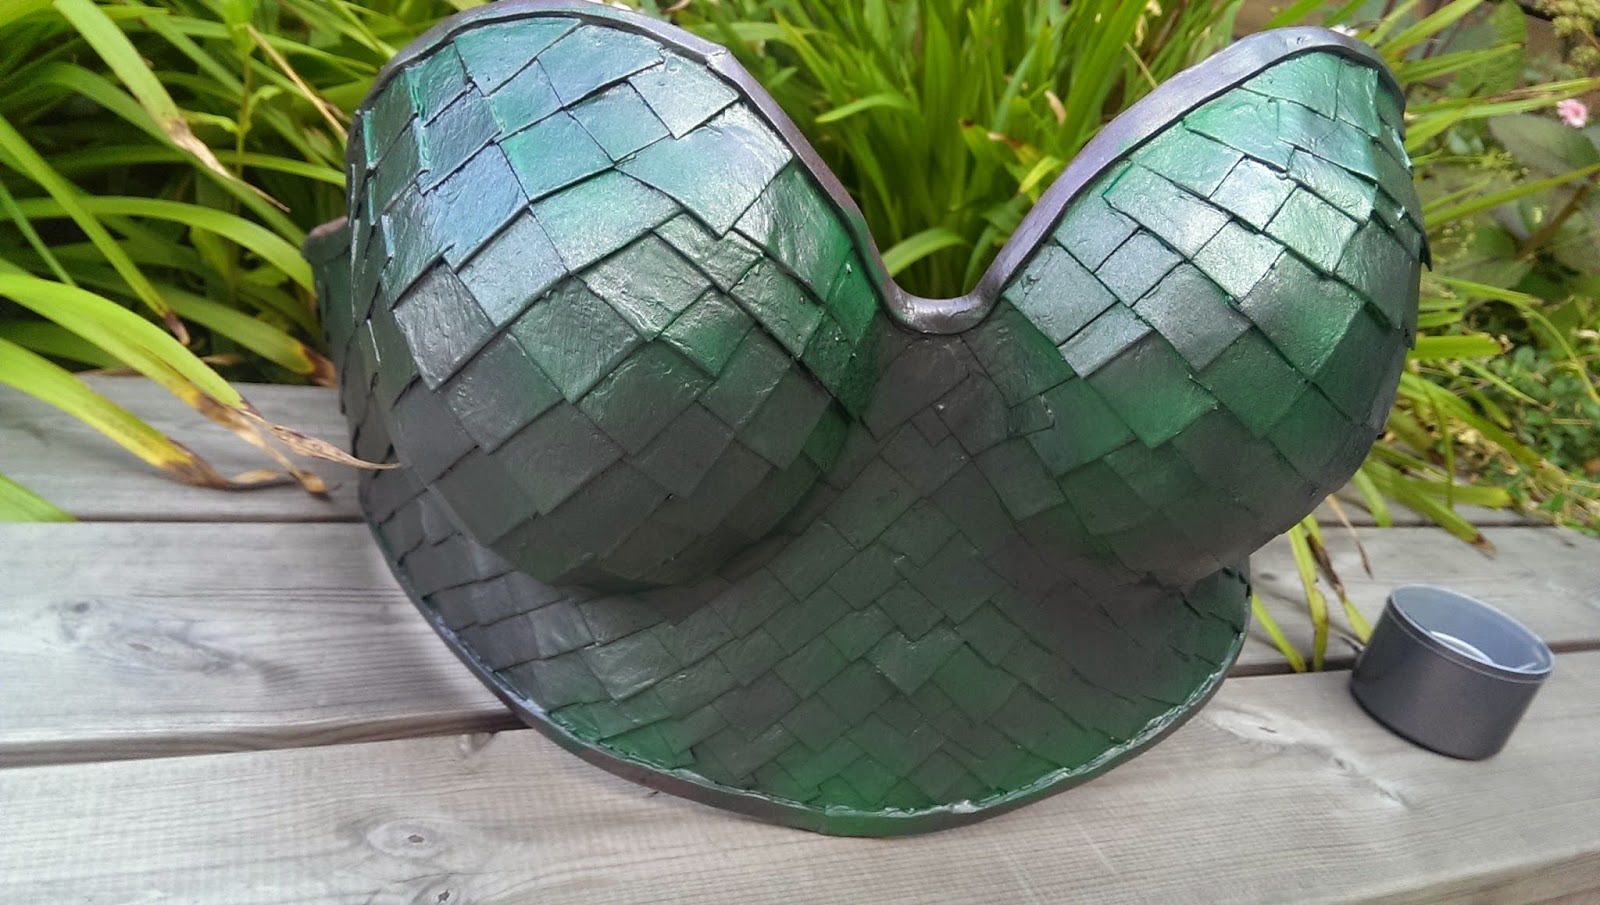
To get a more metallic look I sprayed it with a this layer of metallic grey paint. 


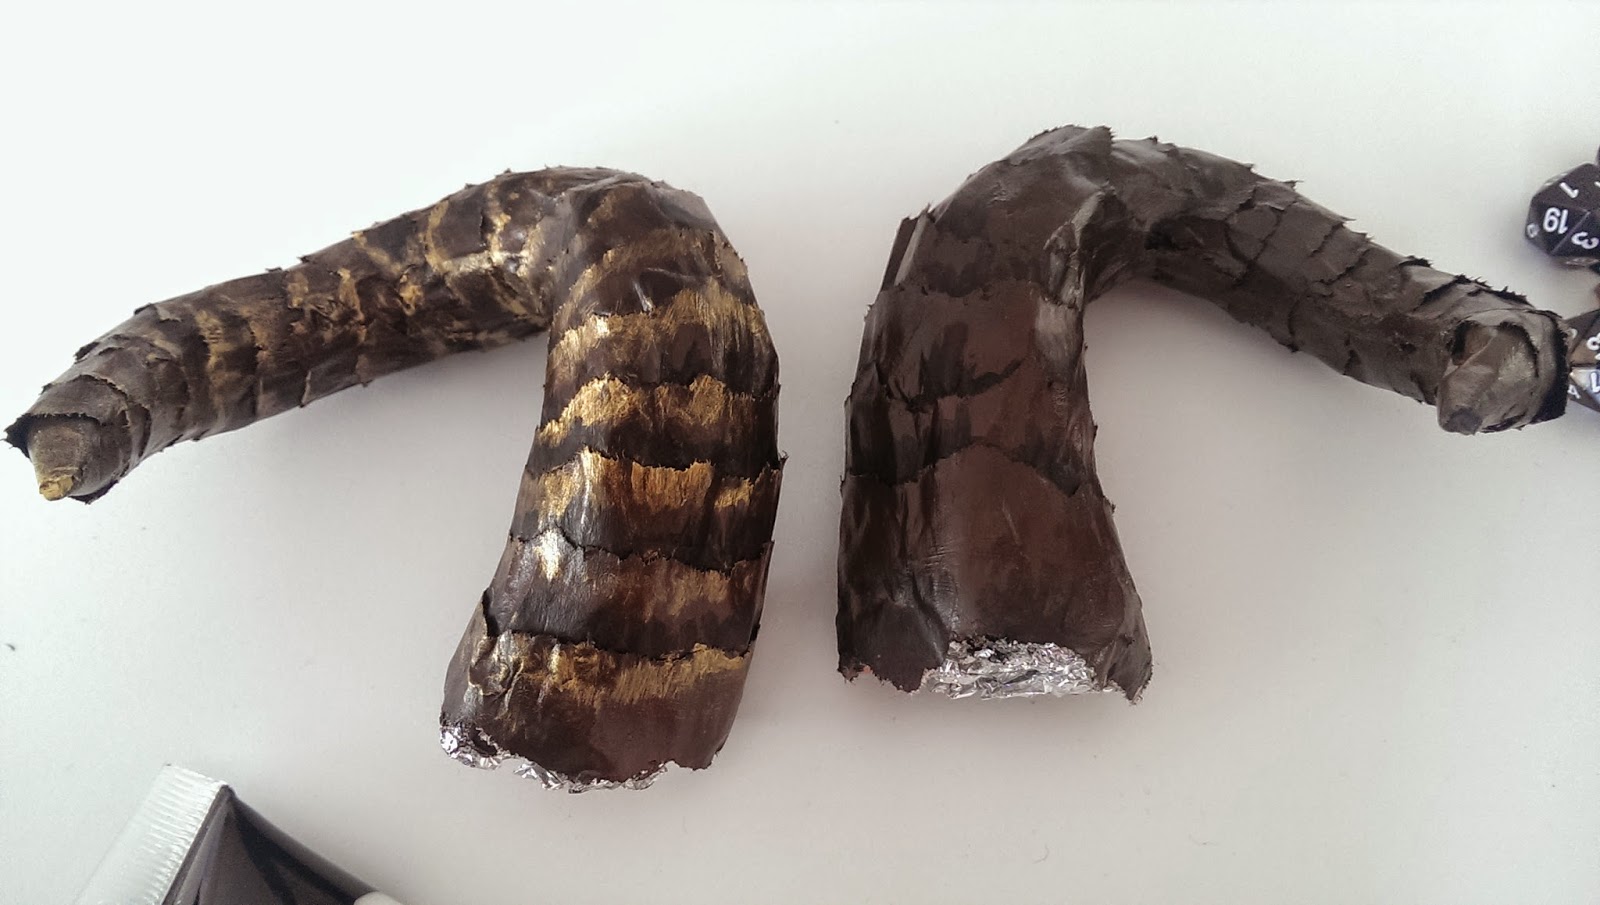
The edges were painted gold and all the scales first got dark shading and then the tips got a thin gold coat with a dry brush.  

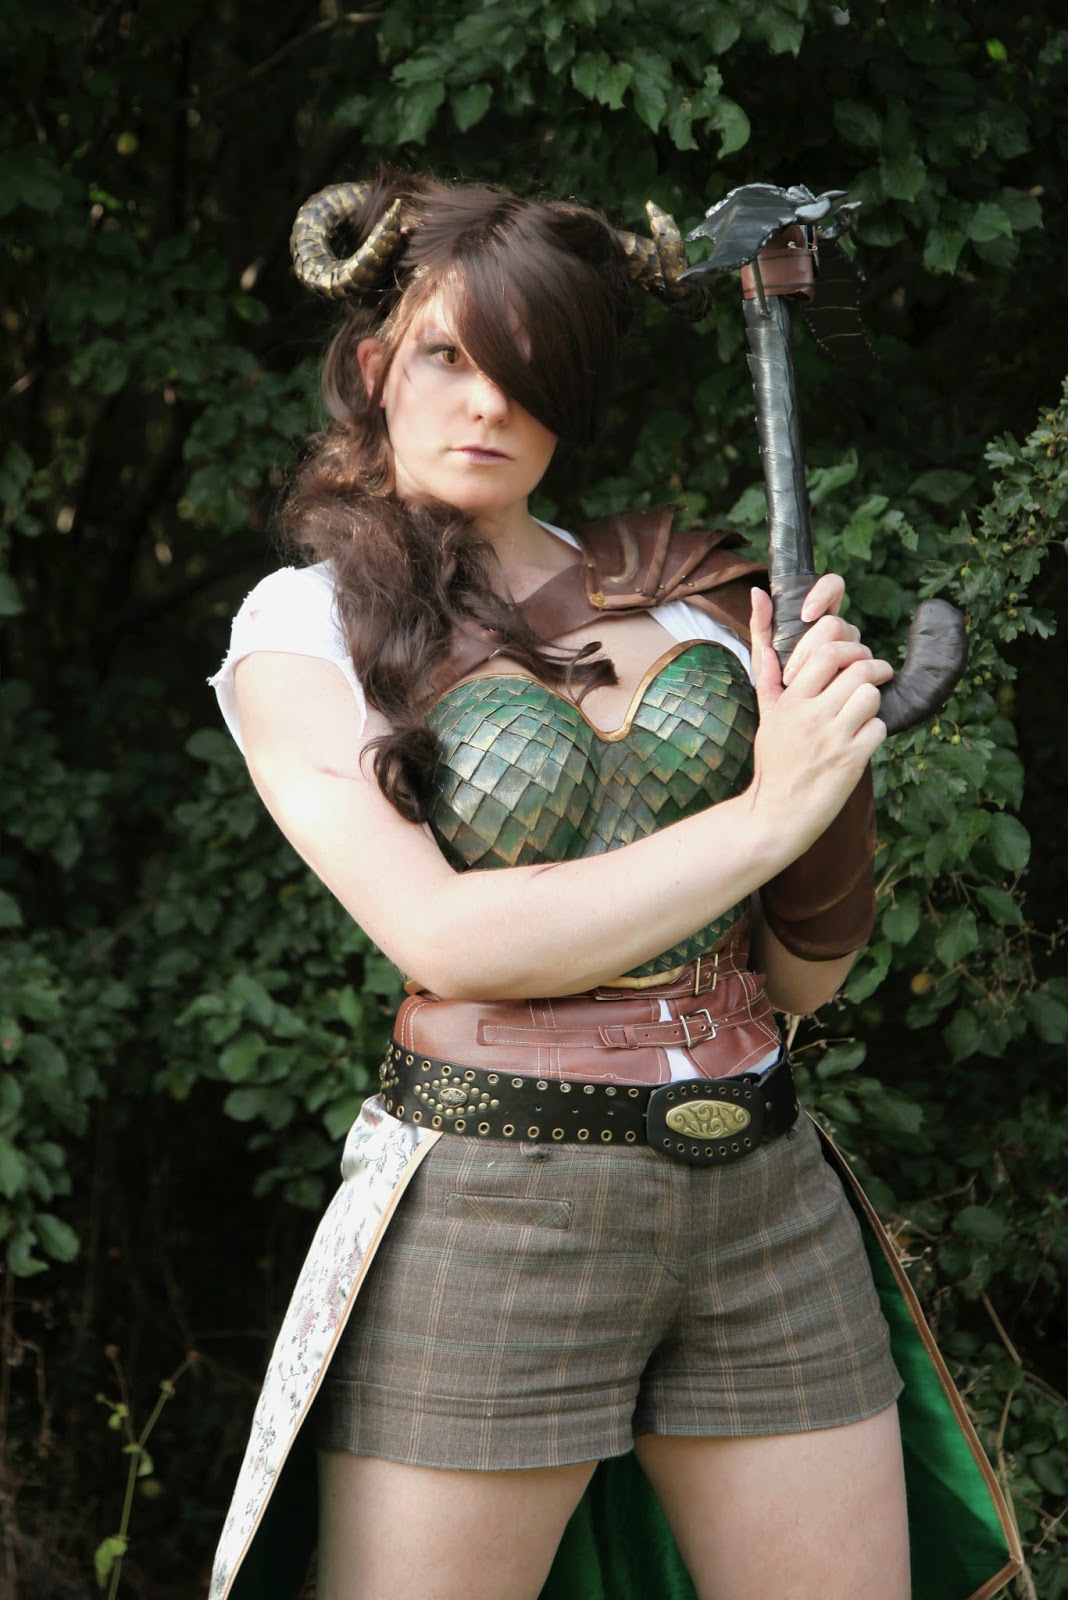
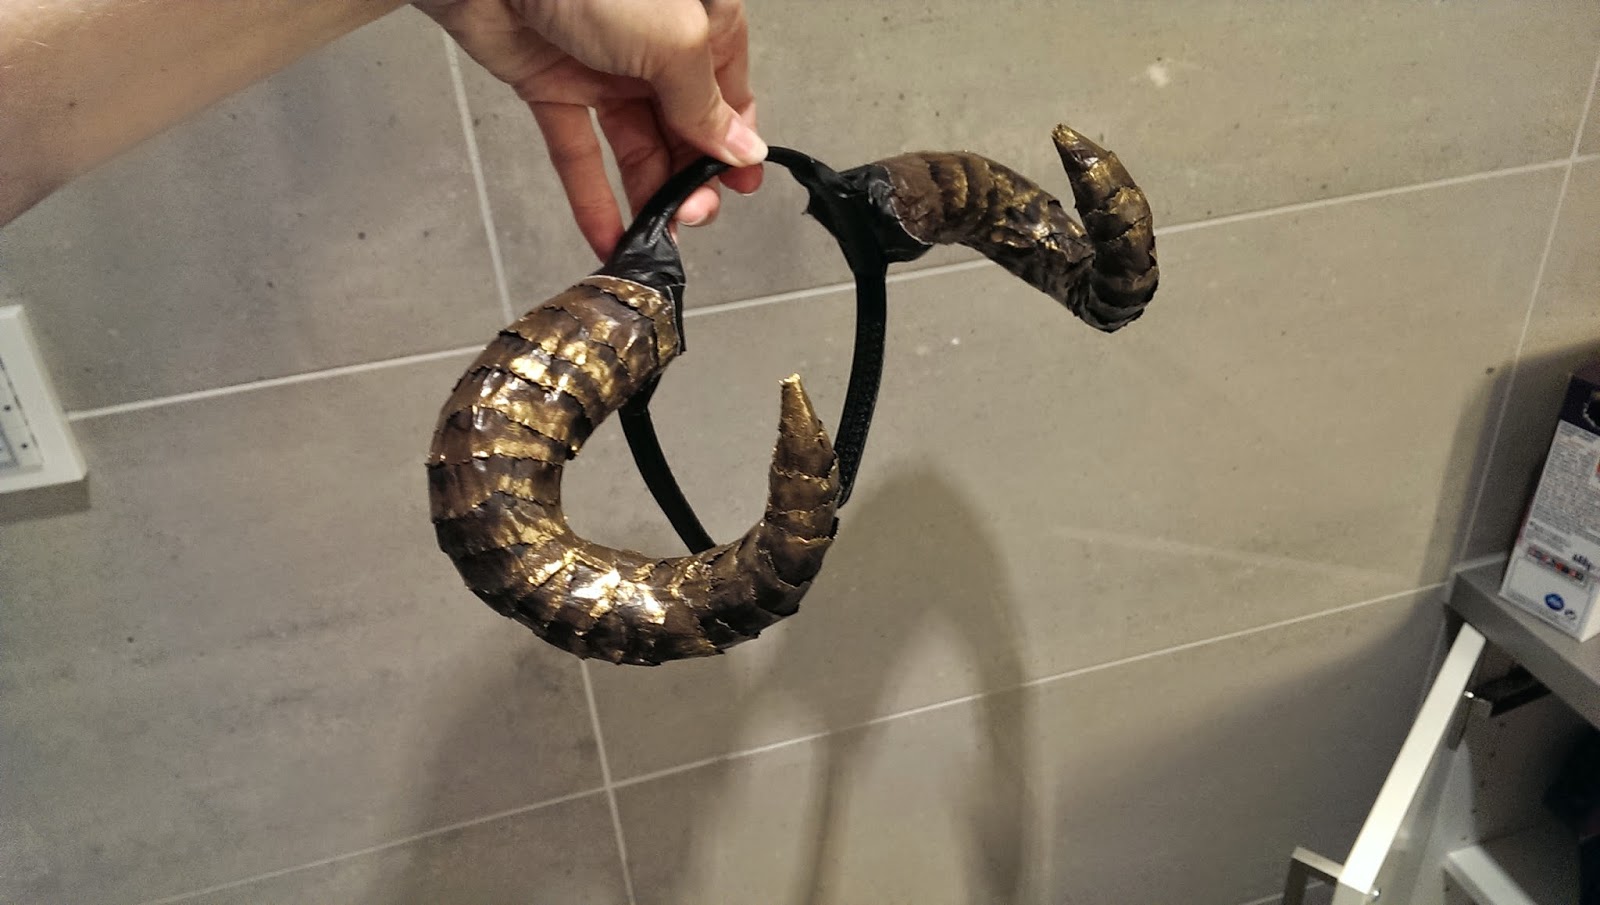
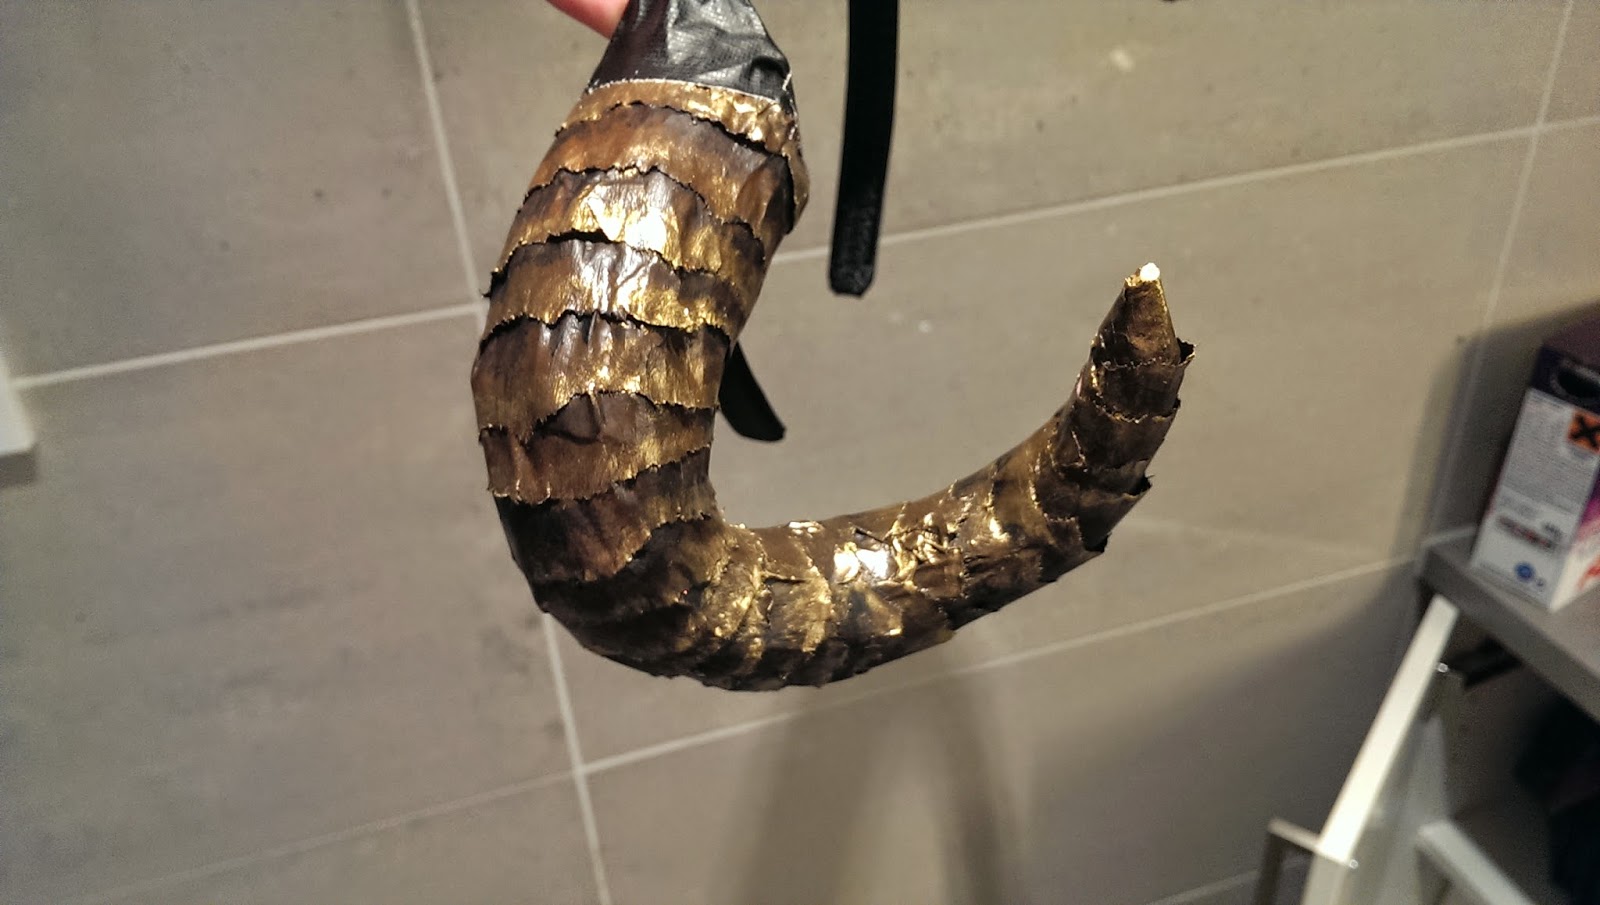
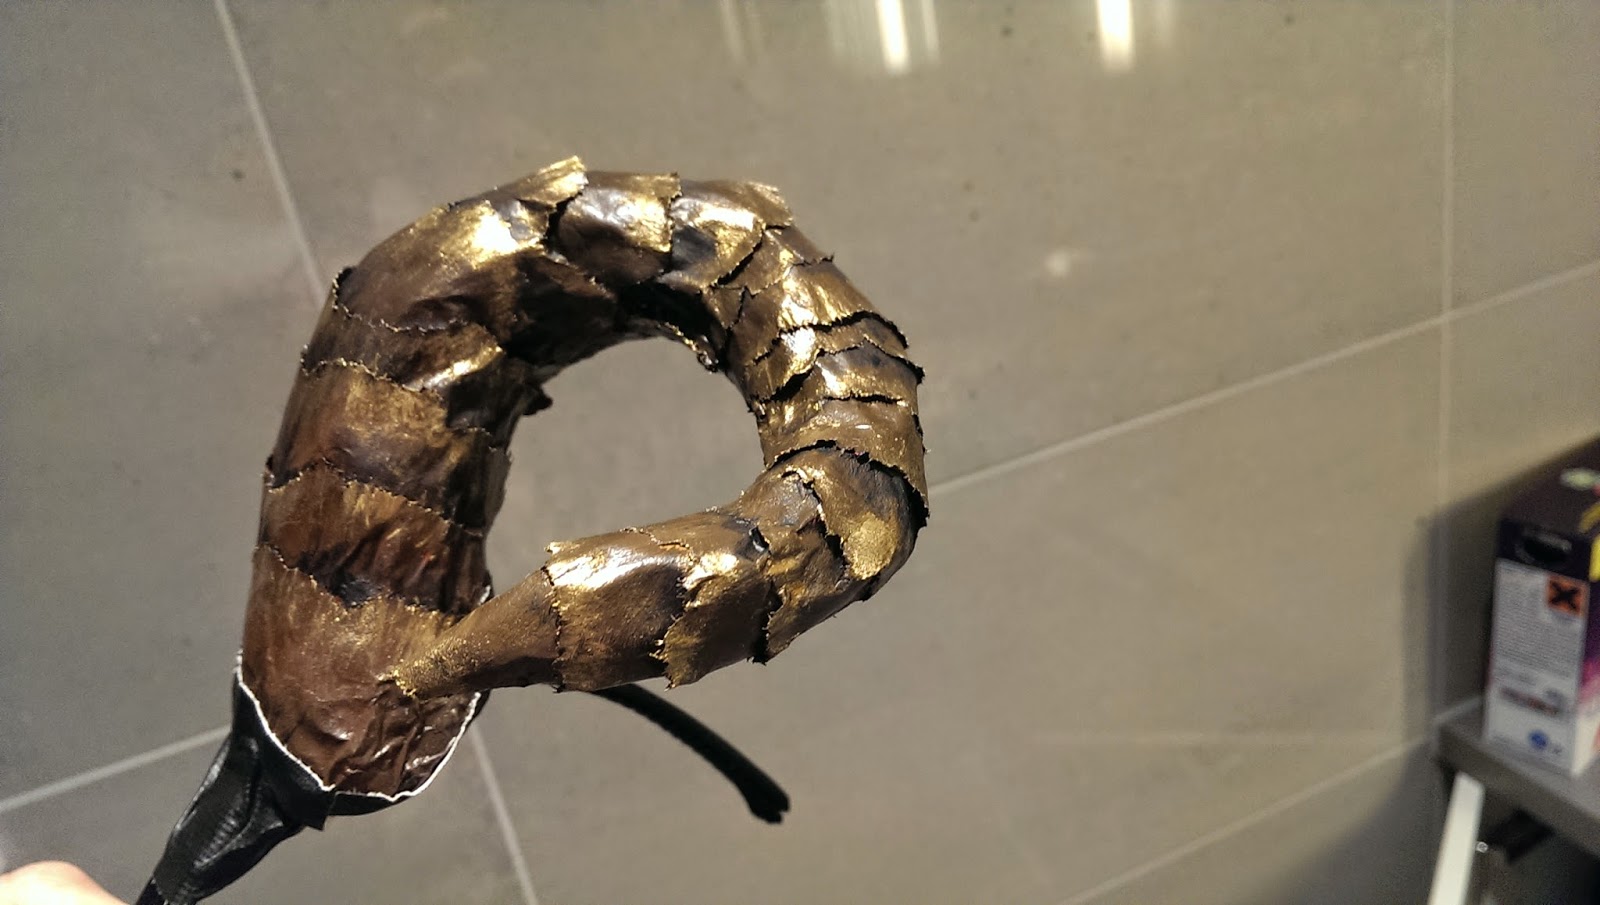
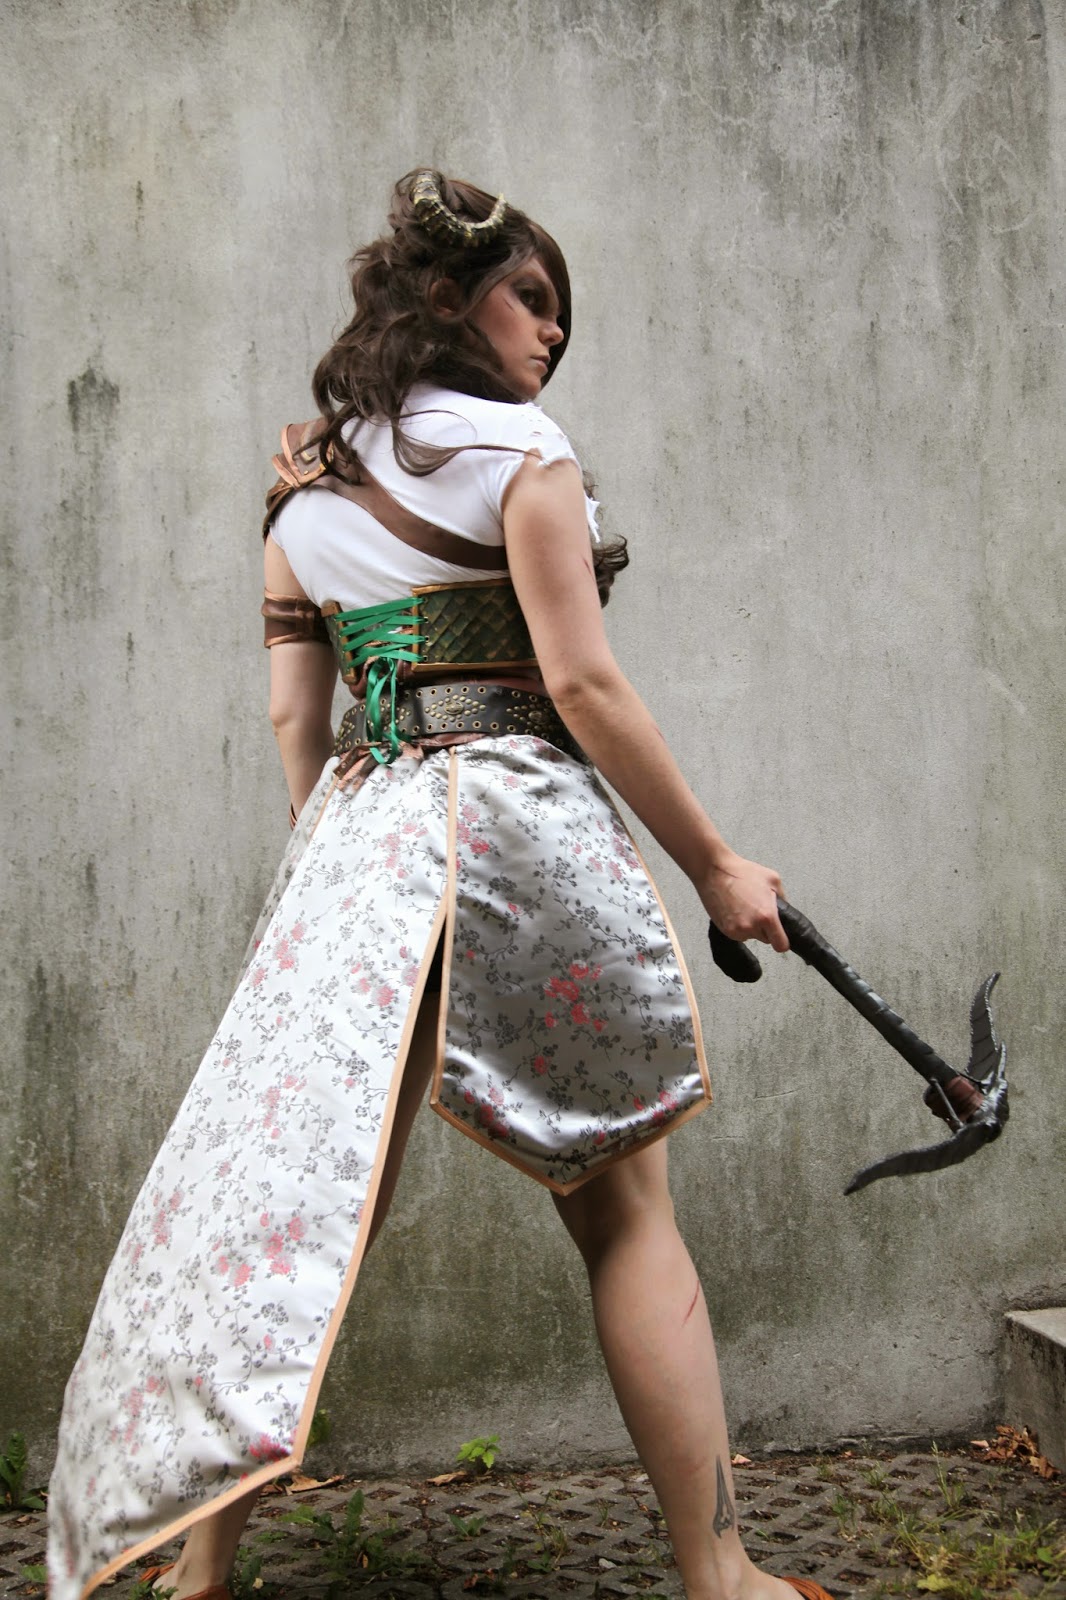
The armor is laced up like a corset in the back, and this is the final look of my character - which people have named "Cardboard". More post about the horns, crossbow and total look later. 

The armor is just lased on as a corset in the back, with grommets for the holes (see tutorial on corset for more info about grommets and such)