We ended up with wow. Next requirement was keep the outfit modest (no overly sexual appeal or weapons) A mage with a magical staff, namely Tier 3 Frostfire Regalia with the Runestaff of Nordrassil staff.
This is a walkthrough (not a complete tutorial, because this was a project with a very short deadline, so I have taken a lot of shortcuts) of how I made the Tier Set, for tutorial on the staff see here.
In this tutorial I will show the making of the pauldrons, corset, bracers, skirt, apron and belt, hood and collar piece.
Crystals
This is very popular in the cosplay scene at the moment, and I always wanted to try.
I started by making my shapes in clay, or finding a suitable object which I need the details of.
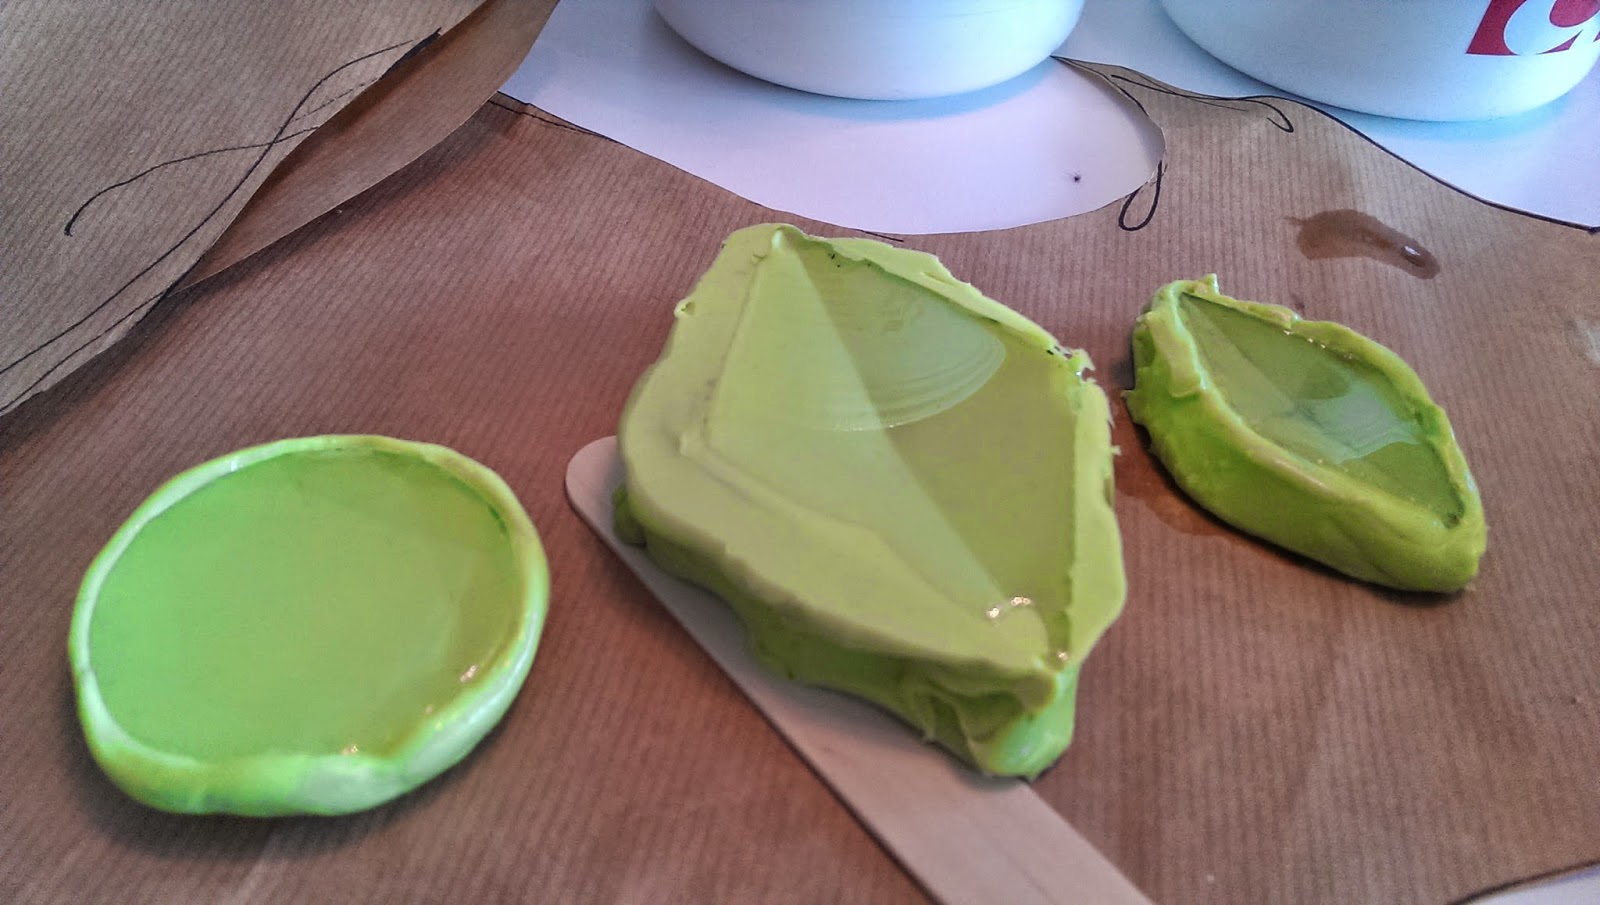
Then you need to make a silicone mold. The silicone I bought was a two component putty (felt like chewing gum to work with) So I didn't need a box to hold up really runny silicone in. You just knead the two parts together (equal amount) and pack it evenly around the object you are casting.
The silicone cured in a couple of hours. Then I mixed up a resin. Make sure you read the hazard labels, some of these can be really bad for you.
Two parts A and one part B poured onto my molds. To make sure I didn't make too much I first filled my molds with water and measured how much they contained.
After 24 hours I had a crystal.
When done I painted the back with nail polish (good coverage).
To get a base to work with I laid paper mache over balloons.
This gave me a great shape
Two shells were used for each side with 10 mm clearing in between (to make a little more volume).
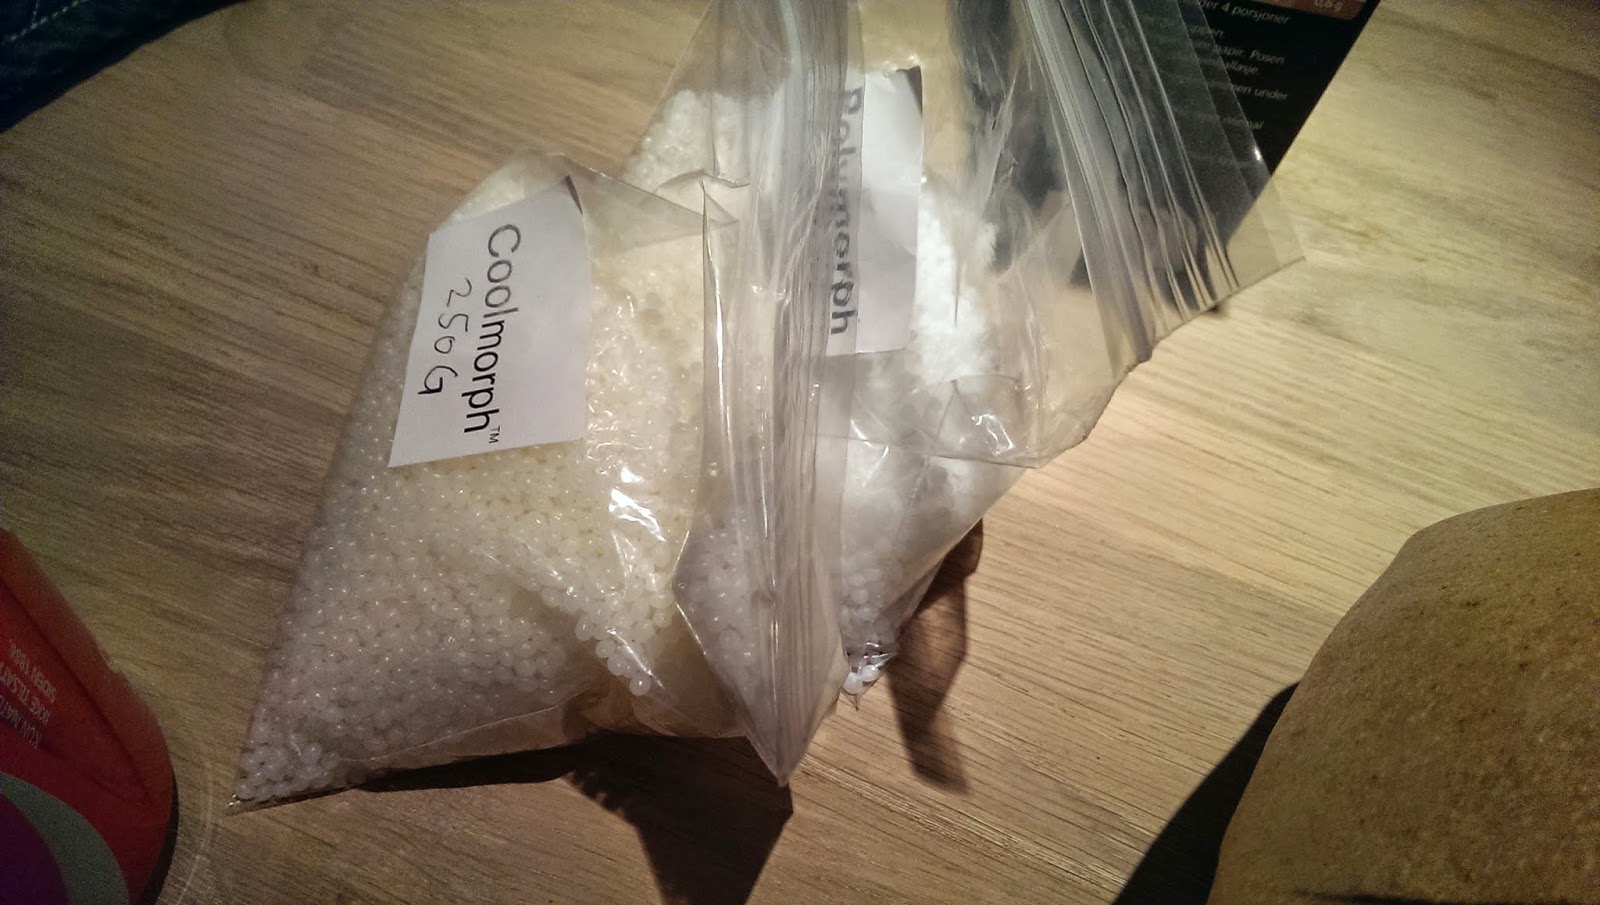
These pauldrons have several spikes and crystals. To start with the spikes and icicle shapes I used Polymorph and Coolmorph. I will write another tutorial about the difference.
In short, this is a thermoplastic in pellets, when heated (eg. warm water) they turn transparent and playable.
Then you can knead them to the shape you want. They also stick very well to worbla. When cool they turn opaque again .
Pauldron taking place. Worbla is added to the sides and polymorph to the ends.
Resin gem and strips of worbla added. More info on how I cast the resin gems a little further down.
Crystals added to the top. These are made from taking a silicon mold of an excising crystal and then pouring a two part resin into the mold. As the resin was curing I added a small dome made from polymorph to it. This created a hollow room in the crystal as well as embedded polymorph which made the crystals sit better til the top of the pauldron. The top was first covered in "coolmorph" (more sticky) and then the crystals were added.
Since the crystals are partly hollow i inserted a LED from the underside. Great effect.
The other gem also glows beautifully.
Then we have a plain base paint in the color scheme of the Tier set.
Shading and highlights make all the difference. I'm not super happy with this paintjob, but the deadline was approaching at warp speed and I had to call it done.
The pauldron to the left has lights on and the other without. The effect is nor so great in daylight, but at evenings or dark con halls they look amazing.
Bracers
For fast and easy bracer to an affordable price go for cardboard.
Foam covered in paper mache was added at the ends.
The same shade of grey faux leather covers the mid section.
Foam details in the making
A little paint.
Corset
I have written much about corsets before. I used the pattern from my Demon Hunter corset and boned it with plastic strips.
Then I just trimmed away the edges to get the shape I needed.
Faux leather and bias tape.
I used a marker to add the dark grey details.
Skirt and front piece
I started with creating the pattern for the fron piece.
Transfer the shapes to faux leather.
And trimming with purple bias tape.
Light blue foam was added as details.
And grey markers were used to make the details. Two more gems were added.
The skirt was just a a-line skirt from dark blue cotton canvas. More grey faux leather details were added.
collar
A large dramatic collar on the back of the costume. Made by making a pattern in paper and transferring that to cardboard. Then covering the cardboard with grey faux leather.
Several layers of colored foam was added.
And the last details were made with markers.
Hood and crown
Test assembly.
Full assembly
And here is the finished advertisement for Noroff. The ad says "Nobody was surprised when Julia wanted to study at Noroff" which is a creative school in Norway. I'm hoping to do a photoshoot with this costume myself also.
Photo: Sigve Aspelund/Tinagent


OMG that's cool!
SvarSlettLove the pauldrons!! :D I want to try the mold/resin making someday too!
Shiro Samurai's Cosplay Blog